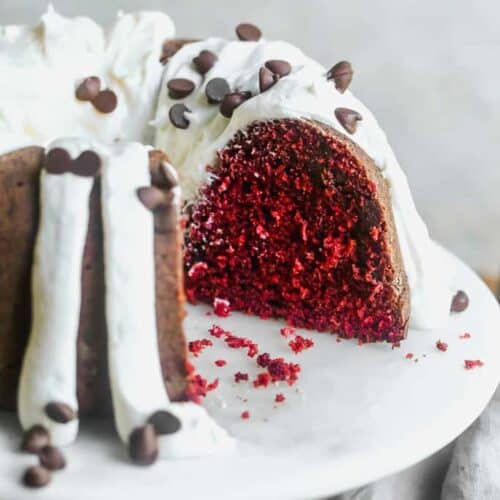
Moist and tender Red Velvet Bundt Cake with cream cheese frosting. Add some chocolate chips for a an even more delicious chocolate flavor.
We love yummy and easy bundt cake recipes like this popular Nothing Bundt Cake and this Chocolate Bundt Cake. And, if you’re looking for more inspiration, we’ve got dozens of amazing cake recipes.
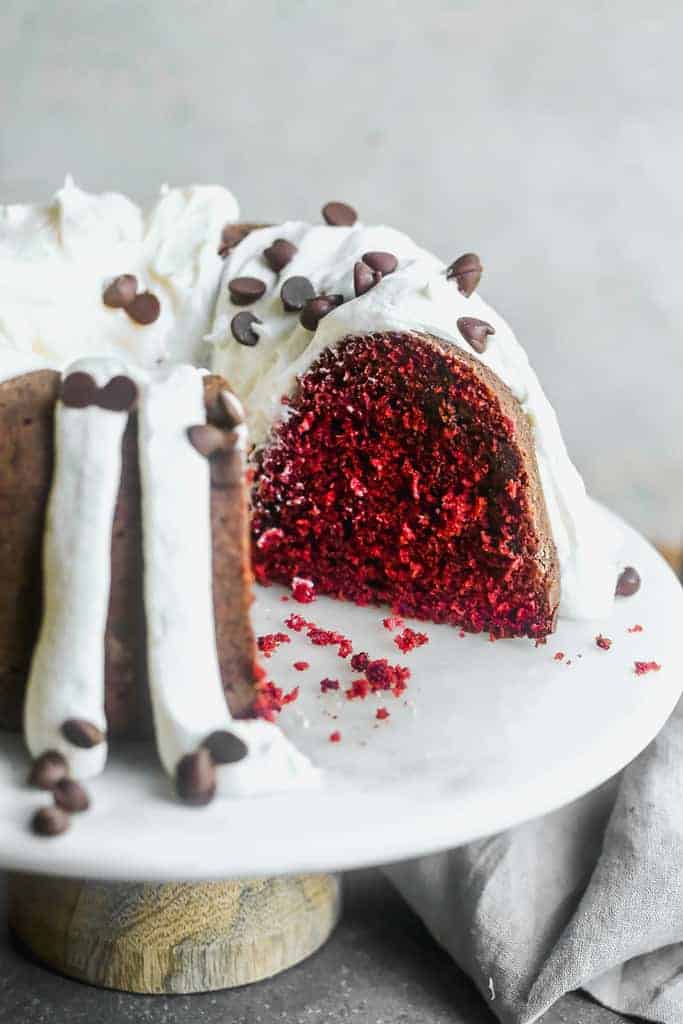
Nothing makes my mouth water like a gorgeous cake with homemade frosting! I love how easy bundt cakes are to frost and make beautiful, with hardly any effort. This homemade Red Velvet Bundt Cake is easy and delicious.
What I LOVE about this Bundt Cake Recipe:
- EASY to frost: I fill a pastry bag, fitted with a coupler (no tip), with my favorite cream cheese frosting and simply pipe the frosting along the groves of the bundt cake. You could also use a ziplock bag and cut the corner off.
- Moist: It’s not dense and dry like bundt cakes can sometimes be.
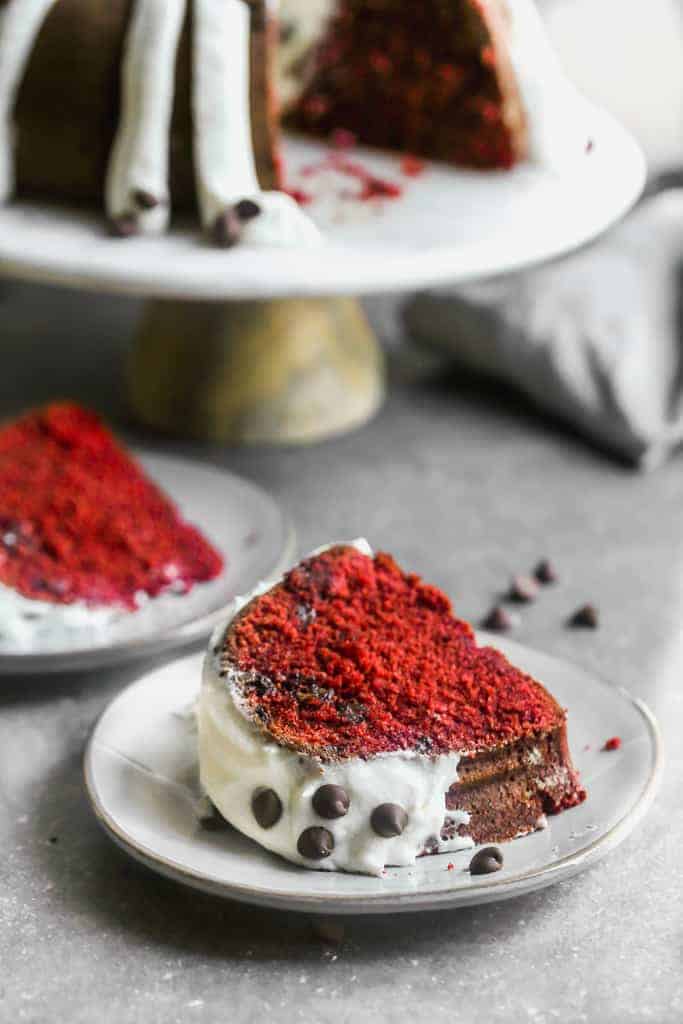
- Dress it up or dress it down: Add added some crystal sprinkles on top, or a sprinkle of mini chocolate chips. Super easy and delicious!
How to Make Red Velvet Bundt Cake:
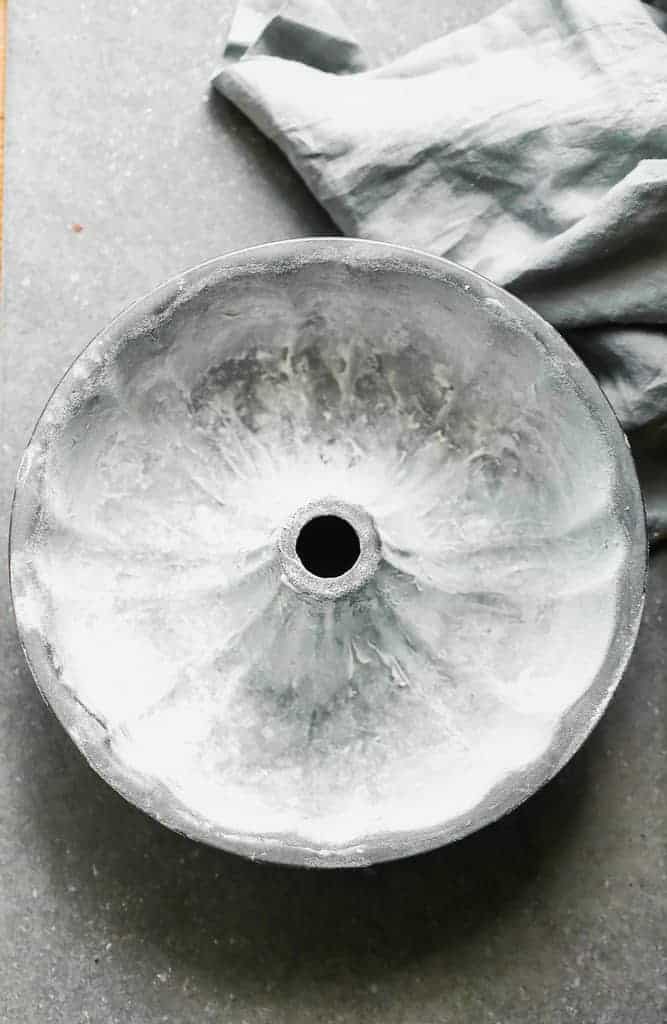
1. Grease the bundt pan. Spread a thin layer of shortening all over the inside of the bundt pan. Sprinkle a little four, turning and tapping the pan to allow it to lightly coat all over. Set aside.
2. Combine dry ingredients. To a mixing bowl add flour, baking soda, salt and cocoa powder and whisk well to combine.
3. Combine wet ingredients. In another bowl cream sugar and butter. Add oil, eggs, yolks, vanilla, vinegar and red food coloring.
4. Mix together. Add about ⅓ of the flour mixture and stir to combine. Add half of the buttermilk and stir to combine. Repeat, alternately adding the flour and then buttermilk, ending with flour. Fold in the chocolate chips.
5. Pour batter into bundt pan.

6. Bake. Bake at 350 degrees F for 40-55 minutes or until a toothpick inserted into the center of the cake comes out clean. Cool in cake pan for 10 minutes and then invert onto a wire cooling rack to cool completely.
7. Frost. Once cool, prepare the frosting, carefully remove the cake from the pan, and frost (see tips below).
HOW TO GET THE CAKE OUT OF THE BUNDT PAN:
- Shortening: Spread a very thin layer of shortening all over the pan. I use a ziplock sandwich bag, stick my hand inside of it, and use my hand to smooth the shortening all over every bump and crevice in the pan. This way I can make sure the entire pan is covered evenly, in a thin layer, and my hands stay clean.
- Flour: Next I get a little pinch of flour and dust it over the pan. Hold the pan over the sink and tap it hard, in a circular motion, all around the edges so that the flour lightly covers the pan.
- Add cake batter. Now you’re ready to add the cake batter, and rest assured the cake will come out of the pan without sticking!
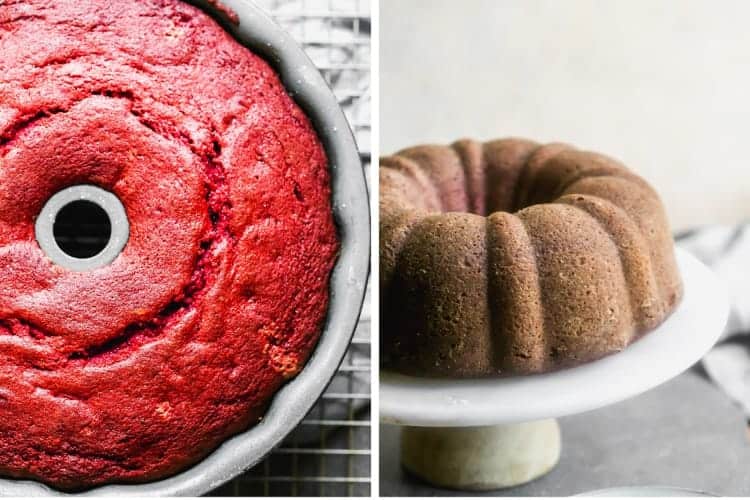
How to frost a bundt cake:
-
Spoon frosting into a pastry bag with no tip attached, or into a ziplock bag, with the corner cut.
-
Starting at the outer edge of the bundt cake squeeze and pull a line of frosting up and over the cake, into the center hole.
-
Repeat this process all around the cake.
Consider trying these cake recipes:
- Caramel Apple Bundt Cake
- Chocolate Bundt Cake
- Chocolate Macaroon Bundt Cake
- Chocolate Peppermint Bundt Cake
- Poppyseed Cake
- Chocolate Chocolate Chip Nothing Bundt Cake
MAKE AHEAD, STORING AND FREEZING INSTRUCTIONS:
- The frosting can be made several days ahead of time and stored in the fridge, or frozen for up to 3 months. Thaw overnight in the fridge.
- Store the cake covered in the fridge for up to 5 days. Freeze (frosted or unfrosted), covered well, for up to 3 months.
You can also FOLLOW ME on FACEBOOK, TWITTER, INSTAGRAM and PINTEREST for more great recipes!
Recipe
Red Velvet Bundt Cake
Ingredients
- 2 3/4 cups all-purpose flour
- 1/4 cup unsweetened cocoa powder
- 1 teaspoon baking soda
- 3/4 teaspoon salt
- 2 cups granulated sugar
- 3/4 cup unsalted butter , room temperature
- 1/3 cup oil , vegetable or canola oil
- 3 large eggs
- 2 large egg yolks
- 1 Tablespoon vanilla extract
- 1 1/2 teaspoons vinegar
- 1 ounce liquid red food coloring
- 1 1/3 cups buttermilk
- 1 1/2 cups chocolate chips , optional
For the Cream Cheese Frosting:
- 12 ounces cream cheese , room temperature
- 1/4 cup butter , room temperature (salted or unsalted)
- 1 1/2 teaspoons vanilla extract
- 2 ½ - 3 cups powdered sugar , to taste
Instructions
- Preheat oven to 350 degrees F. Grease the bundt pan (see my tips above) and set aside.
- To a mixing bowl add flour, baking soda, salt and cocoa powder and whisk well to combine.
- In another bowl add the sugar and butter and cream together with an electric mixer until pale and fluffy, 4-5 minutes.
- Add oil and mix. Add eggs and yolks, one at a time, mixing after each addition. Add vanilla, vinegar and red food coloring.
- Add about ⅓ of the flour mixture and stir to combine. Add half of the buttermilk and stir to combine. Repeat, alternately adding the flour and then buttermilk, ending with flour.
- Fold in chocolate chips, if using.
- Pour batter into prepared bundt pan and smooth into an even layer. Bake in preheated oven for 40-55 minutes or until a toothpick inserted into the center of the cake comes out clean.
- Cool in cake pan for 10 minutes and then invert onto a wire cooling rack to cool completely.
For the frosting:
- Beat cream cheese and butter together until smooth. Add vanilla. Add powdered sugar, one cup at a time, until frosting has the consistency and taste you desire.
- Frosting can be made days in advance. Refrigerate in an airtight container, or freeze.
Notes
- The frosting can be made several days ahead of time and stored in the fridge, or frozen for up to 3 months. Thaw overnight in the fridge.
- Store the cake covered in the fridge for up to 5 days. Freeze (frosted or unfrosted), covered well, for up to 3 months.
Nutrition
Create a FREE Account to save your favorite recipes and create meal plans
Have you tried this recipe?!
RATE and COMMENT below! I would love to hear your experience.
I originally shared this recipe December 2016. Updated June 2020 with process photos and additional tips.

This post contains affiliate links.


It was very dry and had no real taste. I was so hopeful but this one was a dud for me. Loved the cream cheese frosting though!
I made this! Great recipe! Moist, dense cake that almost needs no frosting! The amount of frosting from this recipe is too much (if you can have too much frosting!) But we frosted the cake and it’s delicious, a “keeper!
Any plans for a lemon Bundt cake?
Made this for my 14 year old’s birthday. He specifically requested a homemade chocolatey red velvet cake. This was perfect! My Bundt pan must be a bit smaller as it overflowed, but I cleaned it up and the cake still turned out beautifully! He couldn’t have been happier! Thank you!
Just made this cake. Wish I could send a pic. It’s really good. Thanks for the recipe
Thanks so much Sue!! We love hearing the positive reviews 🙂 I would love to see you picture! You can tag me if you share on social media or send it to us via email!!
I made this cake yesterday and it turned out delicious! Very moist.
Made this for the family at Christmas and it was a huge hit! I used white chocolate chips and it blended perfectly (visually and taste-wise). My sister and sister-in-law are pleading for the recipe.
White choc chips… fun! Did they melt or stay intact like little, white polkadots?
I made your red velvet Bundt cake for a Church gathering and it was a hit! I especially liked it because the texture was more like a pound cake and flavor was enhanced with the chocolate chips I used the mini chips and also used 1/2 tsp. Espresso powder. This is the first recipe out of several prior that I really liked.