
This easy Air Fryer Salmon Bites recipe is takes 15 minutes to make and the salmon is slightly crispy on the outside and moist and flaky on the inside. My favorite part is the amazing homemade remoulade sauce for dipping.
Looking for more air fryer recipes? Try Buffalo Chicken Meatballs, Salmon Bowls, Air Fryer French Toast, or Air Fryer Chicken Tenders!

Why I love this recipe:
- Delicious – The air fryer is my favorite way to cook salmon, and these air fryer salmon bites make a fun appetizer or would be delicious served in a bowl, over sushi rice, with veggies on the side and remoulade sauce on top!
- The Sauce – We tested several types of sauces to serve with these, but this easy remoulade sauce was the clear winner, and pairs perfectly.
- Healthy – High in protein and a healthy choice for anyone! If you count macros or are just looking for some healthy meals, check out all of my macro recipes!
How to air fry Salmon Bites:
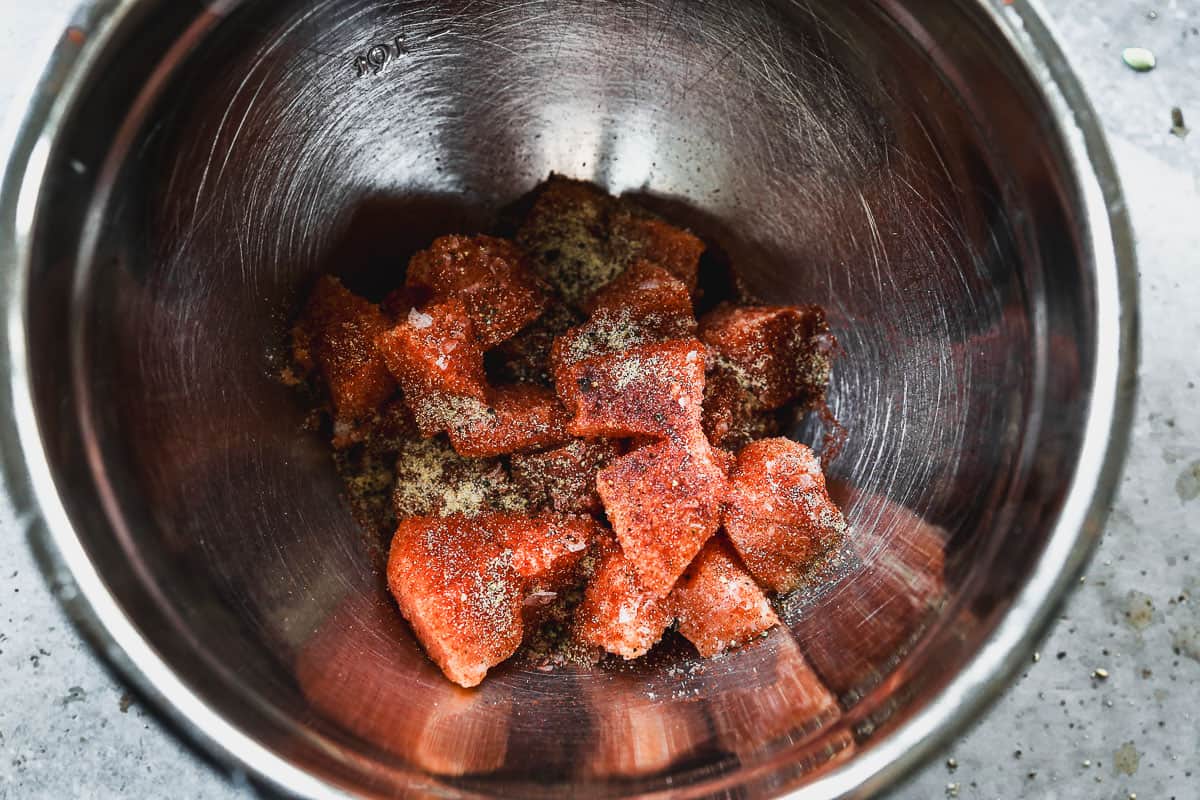
Prep Salmon: Remove skin from salmon, if necessary, then cut into uniform 1-inch cubes. Add salmon to a bowl then drizzle with olive oil. Season with salt, pepper, garlic powder, and smoked paprika, gently tossing to coat.
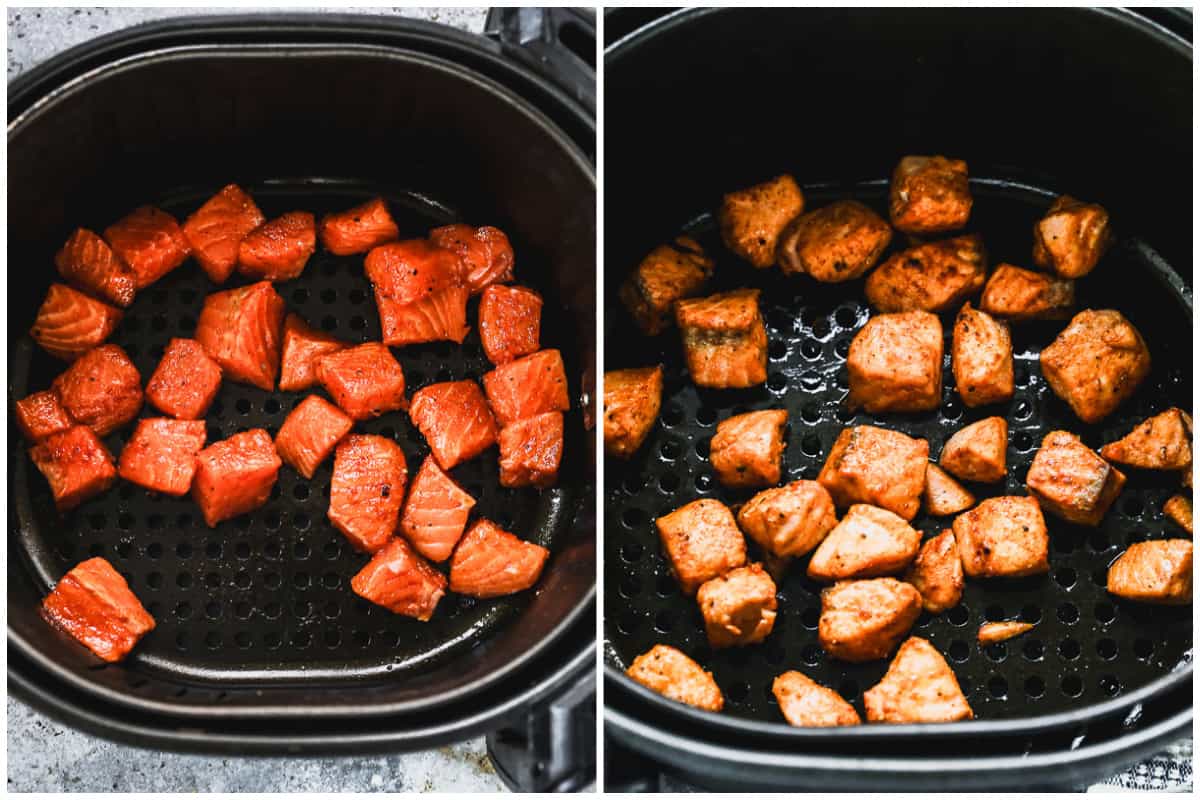
Cook: Spray air fryer basket with olive oil cooking spray then add salmon in a single layer, spreading apart. Air fry at 350 degrees F for about 6-7 minutes, tossing halfway through cooking, until they gently flake with a fork.
Enjoy: Gently remove to a bowl. Serve air fryer salmon recipe with remoulade on the side, for dipping.

More High Protein Recipes:
- Chicken Street Tacos
- Matzo Ball Soup
- Pastalaya
- Thai Chicken Lettuce Wraps
- Classic Homemade Chili
- Sheet Pan Chicken Fajitas
- Slow Cooker Chicken Tikka Masala
- Slow Cooker Ribs
Follow me for more great recipes
Recipe

Air Fryer Salmon Bites
Ingredients
- 1 lb salmon fillets
- 1 Tablespoons olive oil
- 1 teaspoon salt
- 1/2 teaspoon freshly ground black pepper
- ½ teaspoon garlic powder
- ¼ teaspoon smoked paprika
Remoulade:
- 1/2 cup mayonnaise
- 1 Tablespoon stone ground mustard
- 2 teaspoons milk
- ¼ teaspoon horseradish
- 1 teaspoon celery seed
- 1/2 teaspoon onion powder
- ¼ teaspoon dried parsley flakes
- ¼ teaspoon white vinegar
- ¼ teaspoon paprika
- 1/8 teaspoon cayenne pepper
- salt and pepper , to taste
Instructions
- Preheat air fryer to 350 degrees F.
- Remoulade Sauce: Mix all ingredients in a bowl then refrigerate for at least 30 minutes.
- Prep Salmon: Remove skin from salmon, if necessary, and cut into uniform 1-inch cubes. Add to a bowl and drizzle with olive oil. Season with salt, pepper, garlic powder, and smoked paprika, gently tossing to coat.
- Air Fry: Spray air fryer basket with olive oil cooking spray and add salmon in a single layer, spread apart. Air fry at 350 degrees F for about 6-7 minutes, tossing halfway through cooking, until they gently flake with a fork.
- Serve with remoulade on the side, for dipping.
Notes
Nutrition
Create a FREE Account to save your favorite recipes and create meal plans
Follow Me
This post contains affiliate links.


Excellent! I did cut the amount of celery seed in half since it can be overpowering. Even my daughter who doesn’t love salmon commented on how good it tasted.
Love these recipes