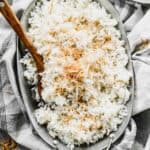
This sweet Coconut Rice recipe will take your meal to the next level! It is delicious, only has 5 ingredients, and is ready in less than 30 minutes!
I love to serve it in a Poke Bowl, Hawaiian Bowls, or with Teriyaki chicken.
Why I love this rice:
- Delicious – There is no kind of rice I love more than coconut rice! It really takes any meal to the next level.
- Easy – Only 5 minutes of prep work and it’s ready in less than 20 minutes!
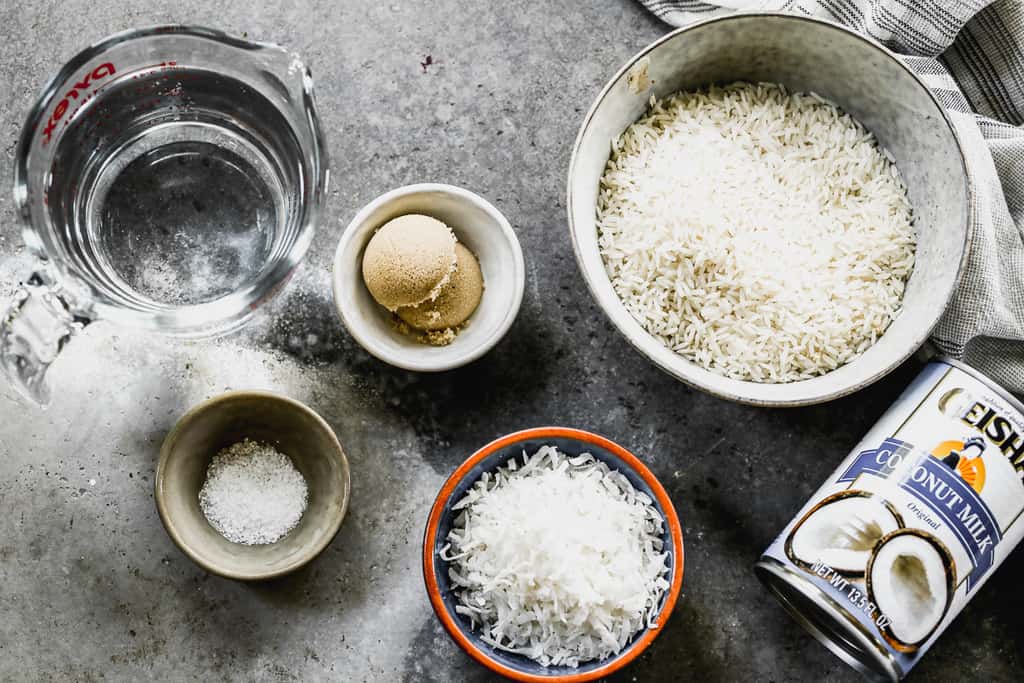
- Only 5 basic Ingredients – All you need is rice, coconut milk, brown sugar, salt and water.
How to make Coconut Rice:
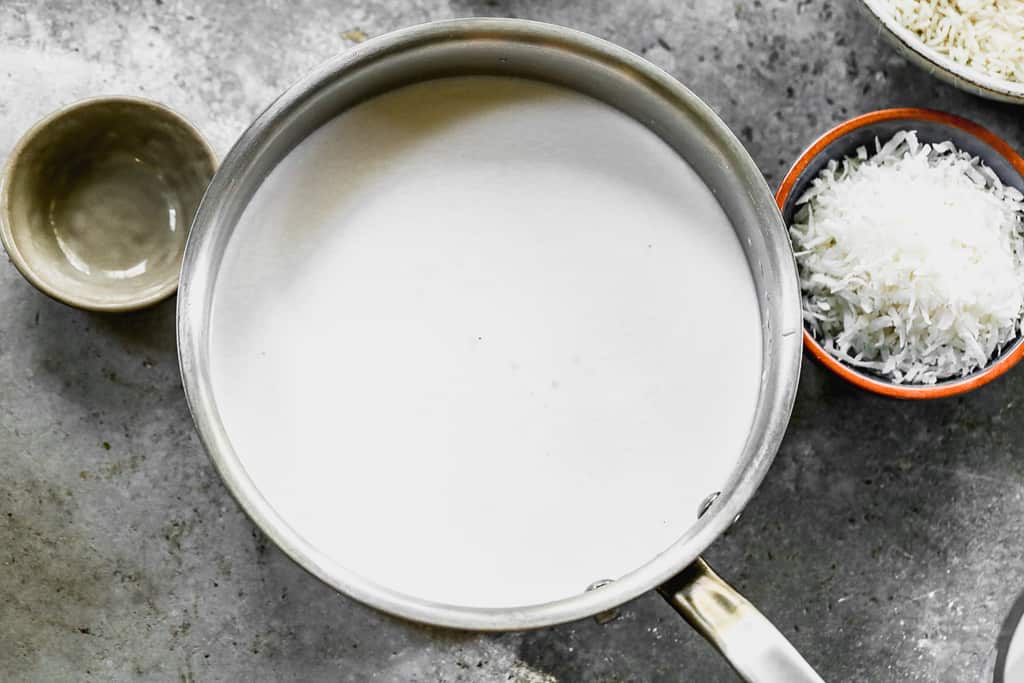
Combine Ingredients: Add water, coconut milk, sugar, and salt to a large saucepan.
Cook Rice: Bring to a boil then stir in rice. Cover the pot and simmer for 15 minutes.
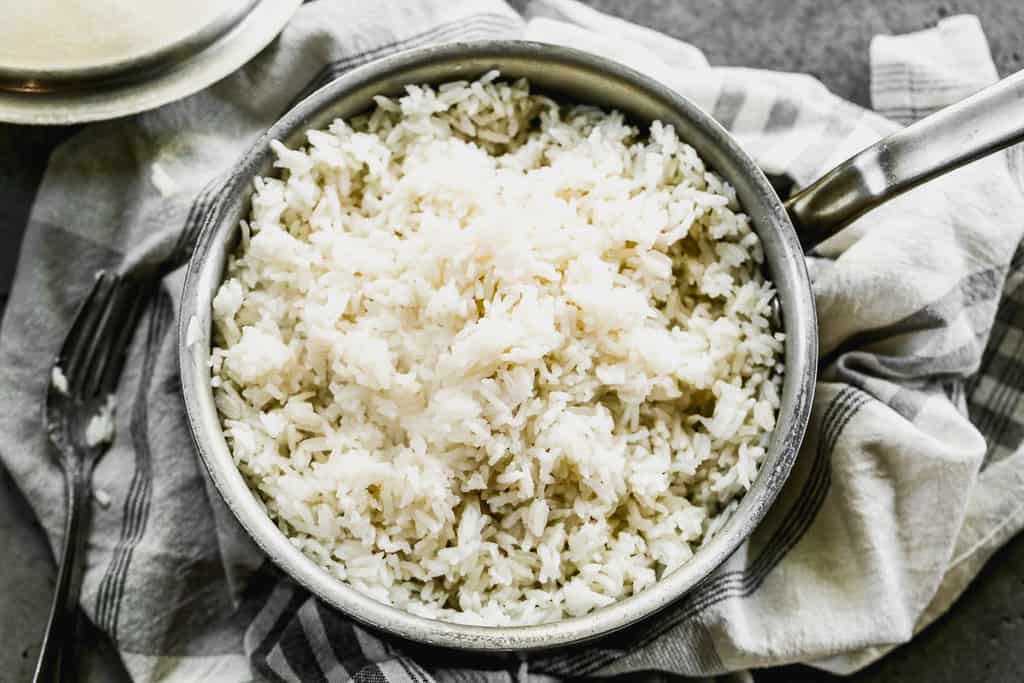
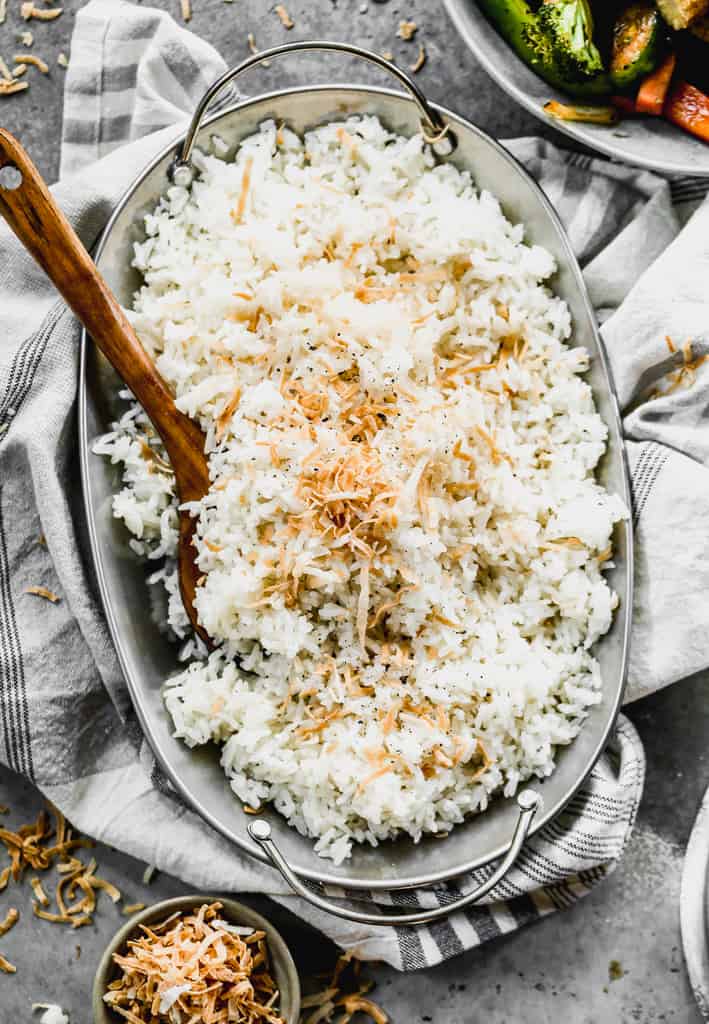
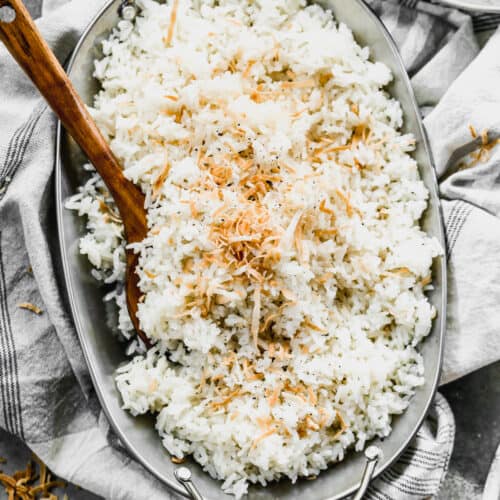
Allow to Rest. Remove from heat and let rest/steam for 10 minutes. Remove lid and fluff with fork. Sprinkle with toasted coconut when serving, if desired.
What to serve with Coconut Rice:
- Hawaiian Bowls
- Harvest Bowls
- Orange Peel Chicken
- Stir-fry Veggies or Teriyaki Chicken
- Grilled chicken, tofu, seared scallops or shrimp
Recipe Variations:
- Instant Pot Coconut Rice: Use 2 cups jasmine rice, 2 cups coconut milk, and ½ cup water (along with the salt and brown sugar called for in the recipe). Add all ingredients to the pressure cooker and stir to combine. Cook on high pressure (manual) for 4 minutes. Allow a 10 minute natural release (the valve may release sooner than that but allow the rice to sit for 10 full minutes).
- Coconut Lime Rice: Replace 2 Tablespoons of the water with lime juice and cook according to recipe instructions.
- Rice Substitutions:
- Basmati Coconut Rice: Substitute equal amount with no other changes.
- Long-Grain White Rice: Substitute equal amount with no other changes.
- Brown Rice: Follow same instructions but cook for 45 minutes instead of 15.
Follow me for more great recipes
Recipe
Coconut Rice
Ingredients
- 2 cups water
- 1 1/2 cups canned unsweetened coconut milk (shake the can before using)
- 2 tsp light brown sugar , packed
- 1 tsp salt
- 2 cups Jasmine rice (about 13 oz.), well rinsed and drained
- 1/2 cup sweetened flaked coconut (optional), lightly toasted
Instructions
- Combine 2 cups water, coconut milk, sugar, and salt in large saucepan. Bring to simmer, then stir in rice.
- Return to a gently boil, cover, reduce heat and simmer for 15 minutes.
- Remove from heat and let stand 10 minutes. Remove lid and fluff rice gently with a fork.
- Transfer rice to a bowl; sprinkle with toasted coconut.
Notes
-
- Basmati Coconut Rice: Substitute equal amount with no other changes.
- Long-Grain White Rice: Substitute equal amount with no other changes.
- Brown Rice: Follow same instructions but cook for 50 minutes instead of 15.
Nutrition
Create a FREE Account to save your favorite recipes and create meal plans
Follow Me
I originally shared this recipe September 2010. Updated September 2019 and February 2022.
This post contains affiliate links. I love sharing my favorite products with you!
This post contains affiliate links.


WTF this rice is ridiculous! The usual ratio is 1 cup of rice to 1 cup of liquid. This is 1 cup of rice to 2 cups of liquid. 30 minutes after starting it, I STILL have liquid in the rice and it’s gross and gummy. What a waste of food! Do not recommend,
It sounds like there may have been an issue with the heat level or the type of coconut milk used. The 1:2 rice-to-liquid ratio is standard for stovetop jasmine rice, especially when using coconut milk, which has a different consistency than water. If there’s still liquid after 30 minutes, try simmering on lower heat with the lid on and letting it rest after cooking to absorb any remaining moisture. Also, make sure to rinse the rice well before cooking to remove excess starch, which can make it gummy. Hope that helps!
-Stacy
I love coconut rice, which made it even more delicious for me. If you like coconut rice, then definitely try it with some lemon juice. Even better!
Great recipe, thanks!
I made it in my Instant Pot w/your Hawaiian Bowl ingredients (fresh pineapple, zucchini, bell peppers, chicken & & teriyaki sauce).
I served it on a plate, not in a bowl — it looked so pretty.
And the elderly couple I cook for just loved it.
I included a side of steamed chard, which nicely offset the sweetness.
It’s always scary trying out a new recipe on people, but this really worked!
I LOVE this recipe. Such a simple upgrade from plain white rice, and the toasted coconut really brings it to the next level. I could eat this all day long. Next time I make it (which can’t come soon enough), I plan to extend the cook time on mine by a few minutes. Not sure if it’s an altitude thing, but the rice was still a little wet and just a smidge underdone with the 15 minutes. Still ate it all, though! Delish!
Do not use this recipe in the instant pot. I just did and it burned in only a few minutes!