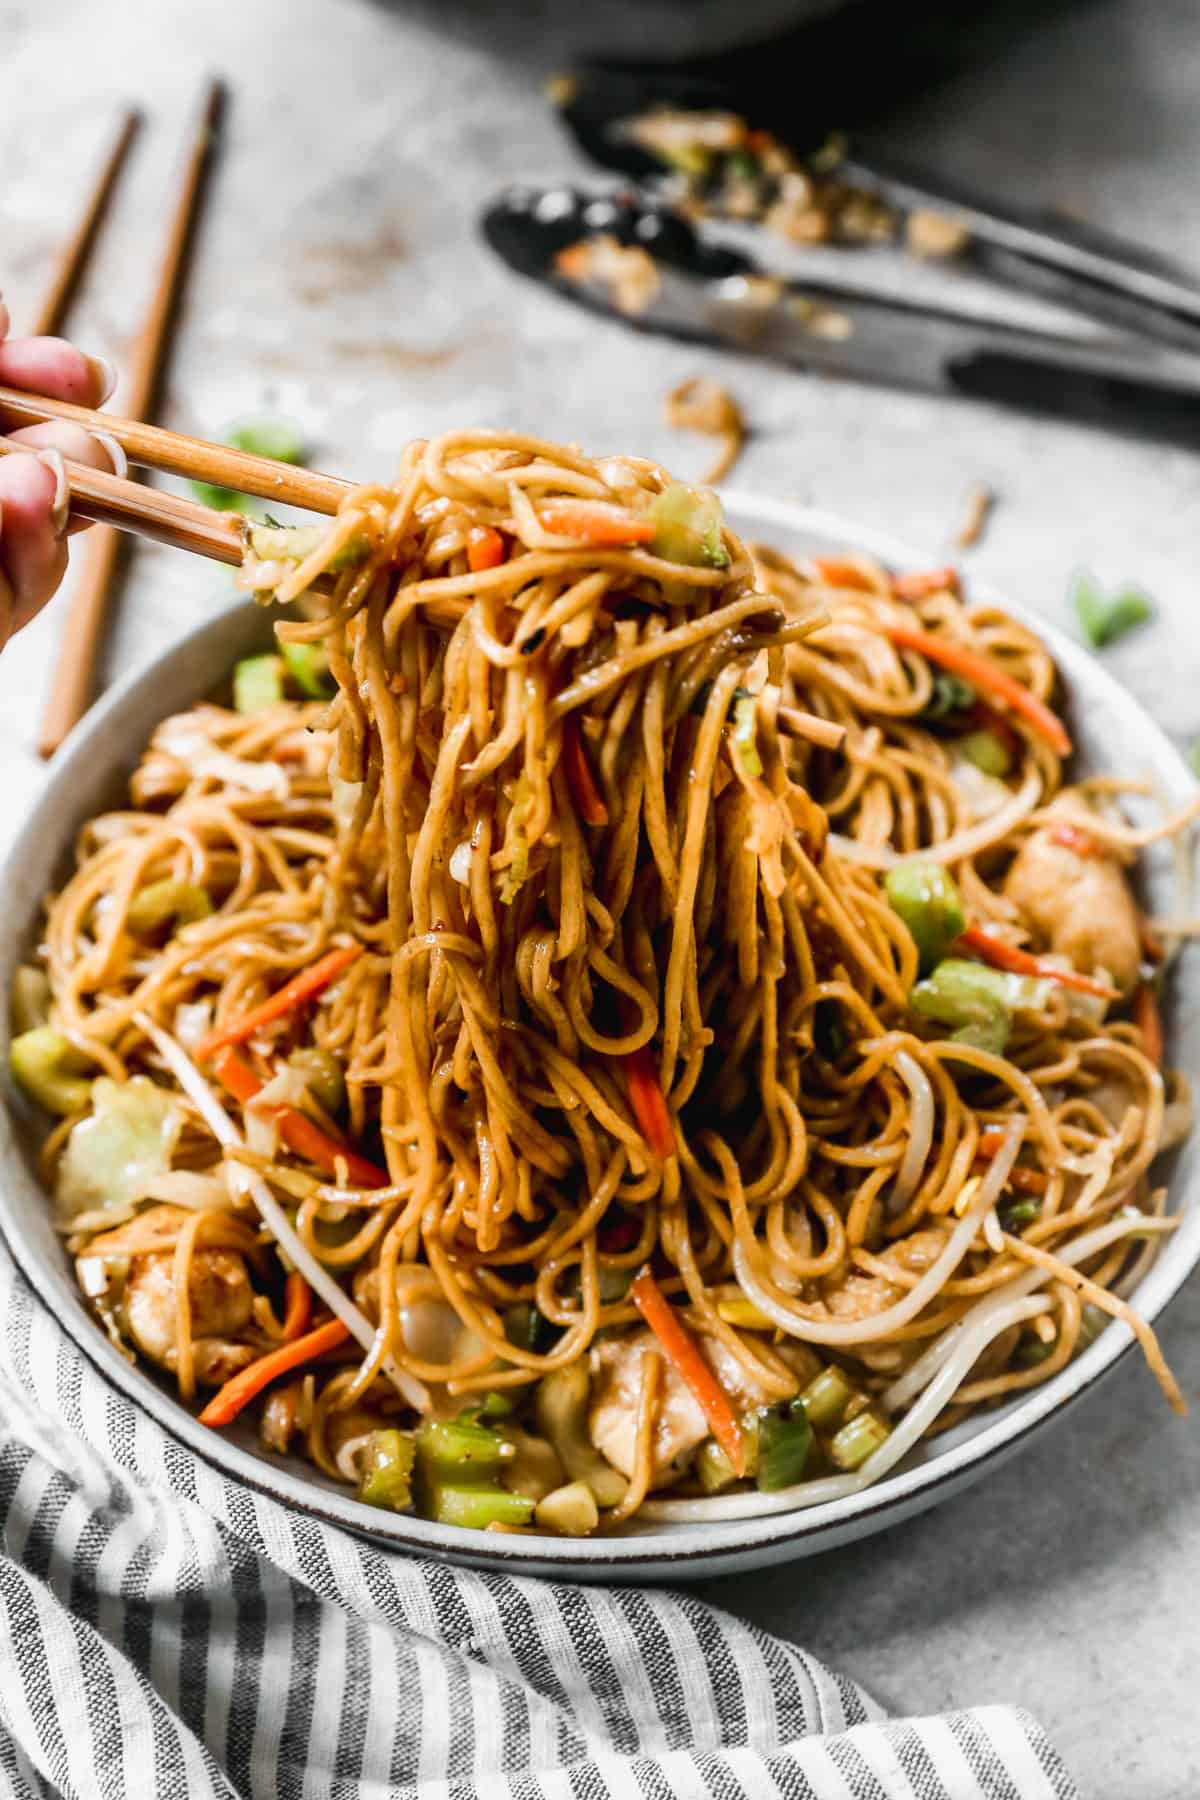
This easy Chinese-inspired Chow Mein recipe includes noodles, vegetables and chicken with a simple chow mein sauce. It’s healthy and quick to make from home.
If you like to make take-out inspired dishes from home, check out Kung Pao Shrimp, Lettuce Wraps, or General Tso’s Chicken.
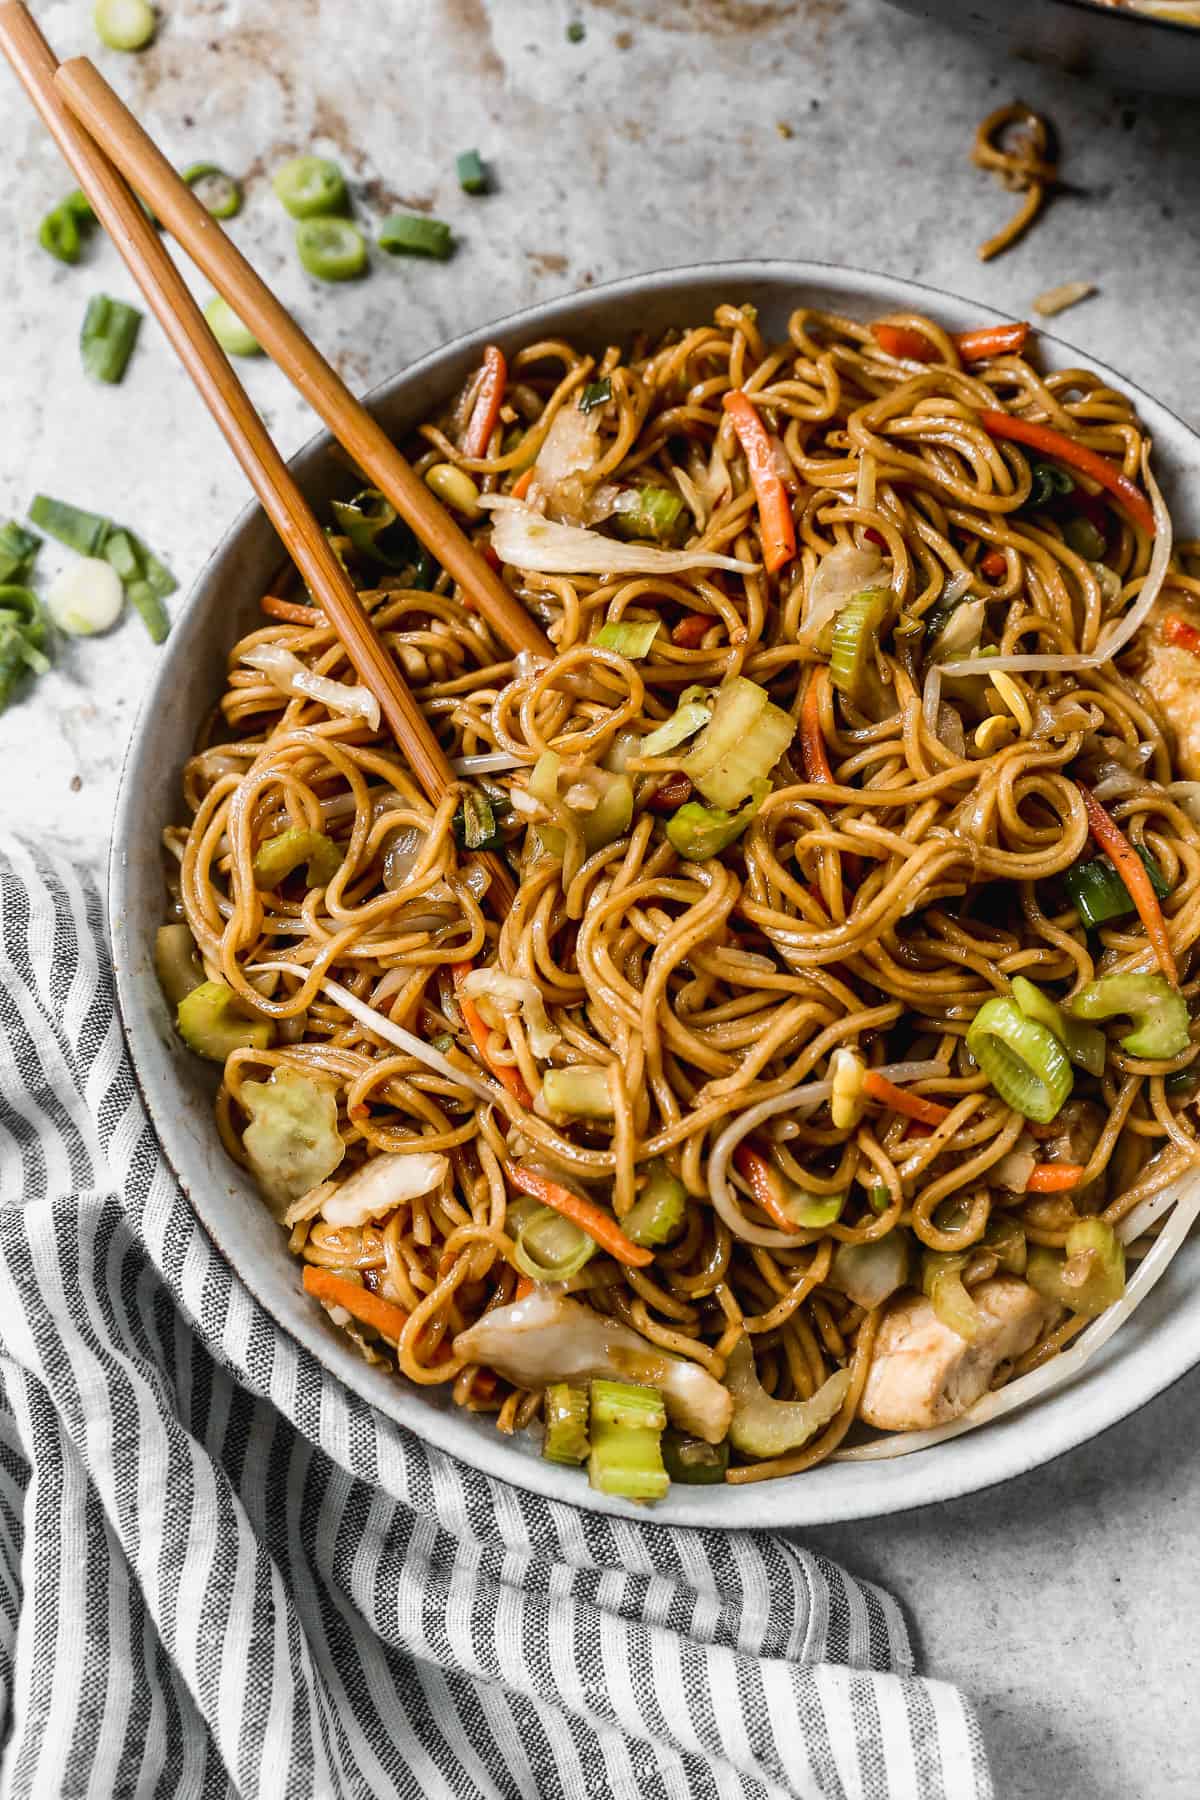
Why I love this recipe:
- 30 Minute Meal – You can have this fresh chow mein on the table in less than 30 minutes!
- Fresh – This easy chow mein recipe hits the spot every time, and I love how it includes veggies and protein.
- Easy to Customize – I often use this recipe to help use up any vegetables lying in my fridge. You can adapt it to your liking by tossing in your favorite vegetables. See some of my favorites in the variation section below.
What is Chow Mein?
Chow mein is a stir-fry noodle dish that is made in many different variations, but typically made with noodles, cabbage, celery, green onions, and garlic. Traditional chow mein is made with fried noodles but often it is prepared with boiled lo mein, chow mein, or yaki-soba noodles. Then it is added to a vegetable stir fry with chicken or beef and a simple sauce.
I can’t call this Chow Mein recipe authentic! This is just the version I like to make from home, to mimic the flavors I love from take-out. For a more authentic version, try this recipe.
How to make Chow Mein:
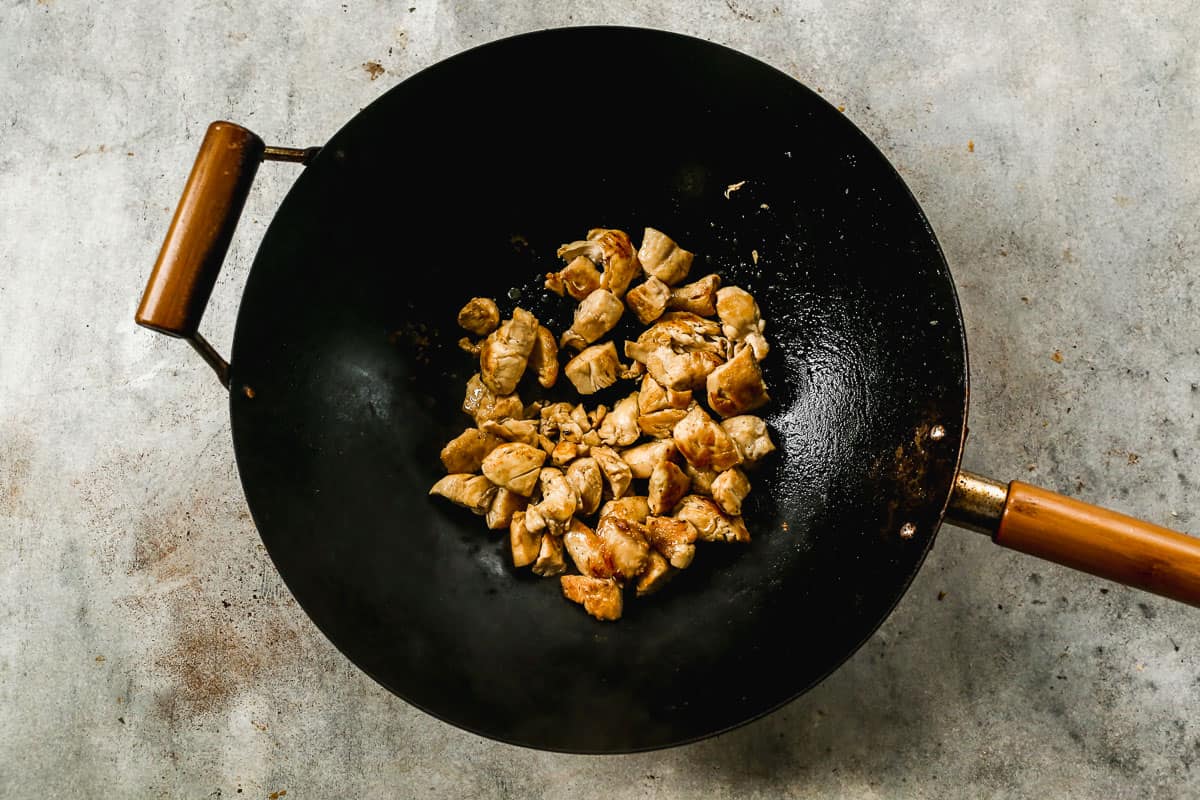
Cook Chicken: Heat a large pan or wok on high heat then pour in 1 tablespoon oil. Season chicken with salt and pepper and add to hot pan. Sauté until cooked through then remove to a plate. Whisk sauce ingredients together and set aside.
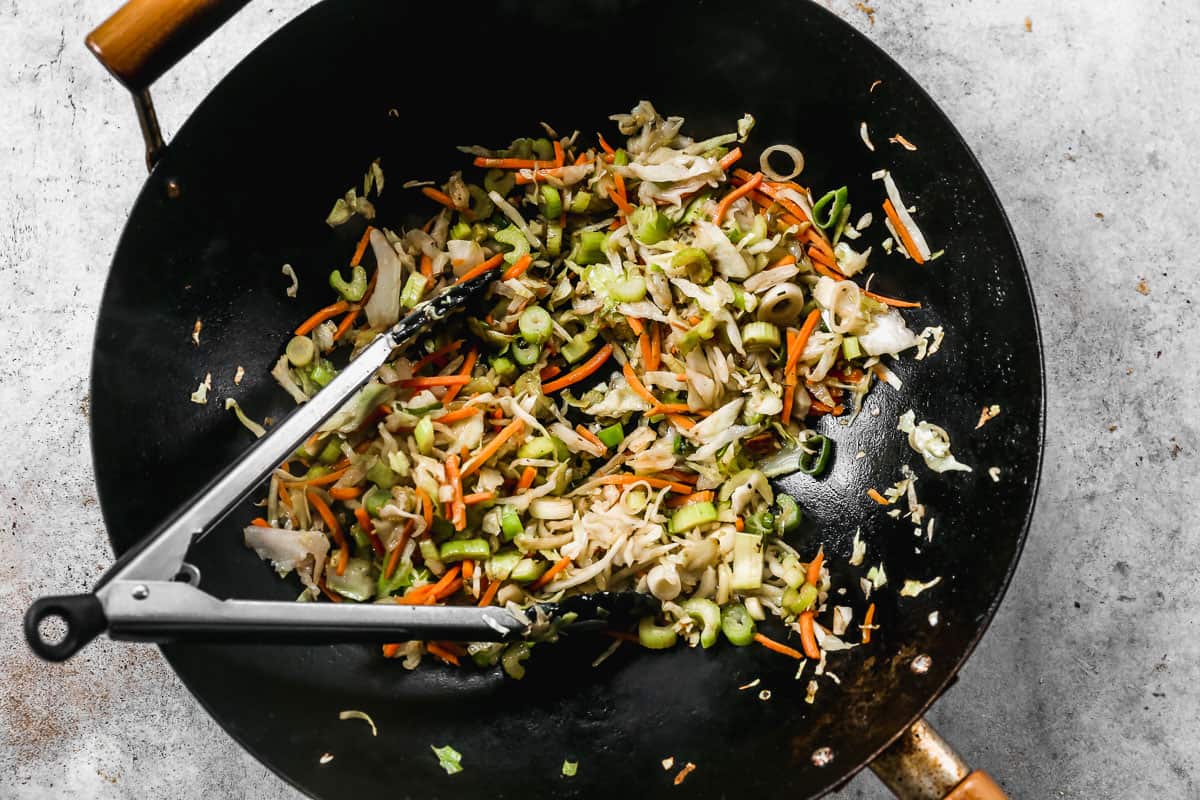
Add Vegetables: Add another tablespoon of oil. Once hot, add cabbage, carrots, celery, and the whites of the chopped green onion. Stir fry over high heat for 1-2 minutes. Add the garlic and ginger and cook for 30 seconds, then remove everything to a plate.
Combine: Add last tablespoon of oil to the pan and add the noodles. Cook for 1 minute. Add the sauce and cook, tossing to coat then return veggies and chicken to the pan, along with fresh bean sprouts.
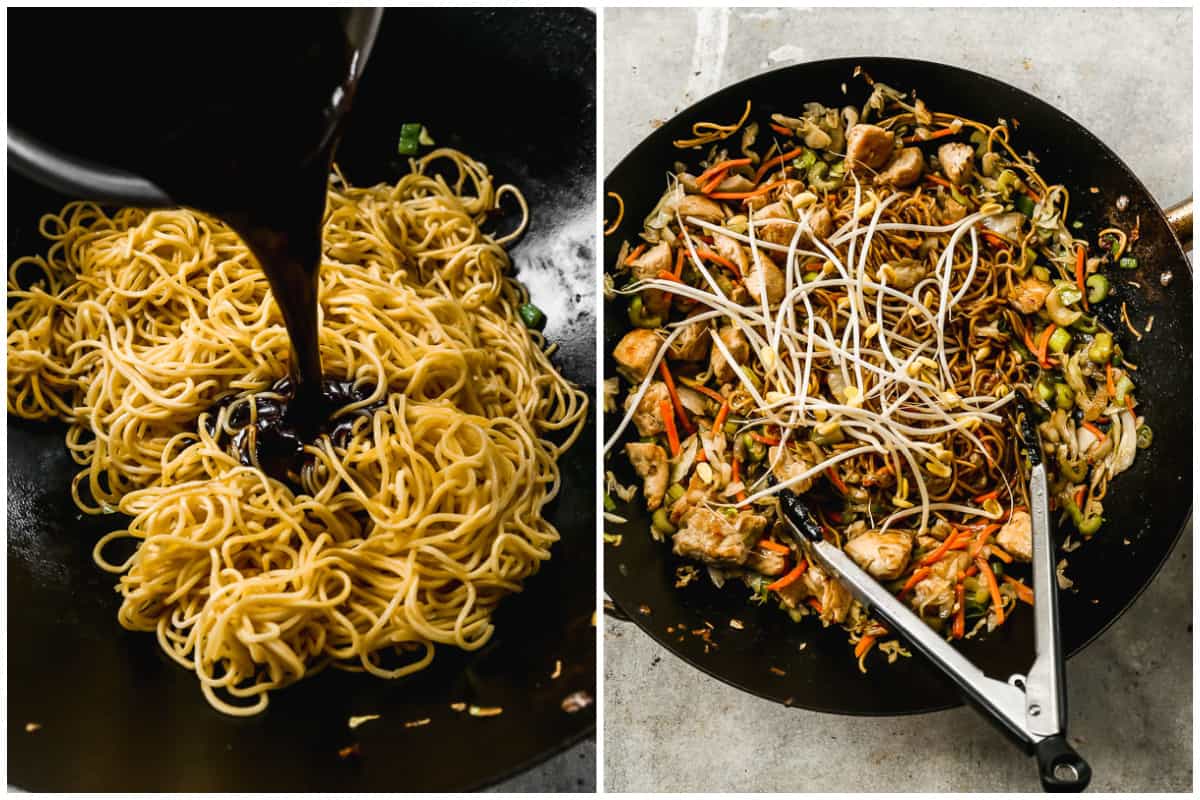
Serve immediately, garnished with green onion.
What’s the difference between lo mein and chow mein?
Lo Mein and Chow Mein are two popular Chinese-American dishes that are very similar and often even used interchangeably. The main difference between these two Chinese dishes is in the noodles. Lo Mein is typically made with thicker noodles where Chow Mein is made with thinner noodles that are traditionally fried and crispy.
Recipe Variations:
- Cabbage and Carrots: If you’re in a hurry, you could use bagged coleslaw mix that has shredded cabbage and carrots.
- Vegetables: Try adding more veggies like Bok choy, bell peppers, mushrooms, snap peas, broccoli, and water chestnuts would all work well.
- Protein: Substitute beef, tofu, or shrimp.
- Vegetarian: Leave out the chicken, or swap with tofu or your favorite vegetarian protein source.
- Vegan: Leave out the chicken, or swap with your favorite vegan protein source. Substitute hoisin sauce instead of the oyster sauce.
- Chow Mein Noodles: I often use Yakisoba noodles because I can get them at my local grocery stores (discard the seasoning packet), but for the most authentic noodles, use fresh chow mein noodles from a local Asian foods market, or Dry chow mein noodles that are labeled as “hong kong” or “pan fried” noodles, which have already been par-boiled and can be added right to the pan. You could also use dry wonton noodles or lo mein noodles, but cook according to package instructions, drain well, and remove excess moisture from them before adding to stir-fry.
More Chinese-Inspired Recipes:
- Kung Pao Shrimp
- Lettuce Wraps
- General Tso’s Chicken
- Sweet and Sour Chicken
- Ham Fried Rice
- Mongolian Beef
- Kung Pao Chicken
Follow me for more great recipes
Recipe

Chow Mein
Ingredients
- 14 oz yakisoba refrigerated noodles , or 16 oz chow mein noodles*
- 1 lb boneless skinless chicken breasts
- salt and pepper
- 3 Tablespoon vegetable oil , or canola oil, divided
- 2 cups finely shredded cabbage* *
- 1 large carrot , shredded
- 2 ribs celery , chopped
- 4 green onions , chopped, white and green separated
- 3 cloves garlic , minced
- 2 teaspoons freshly grated ginger
- 1 cup fresh bean sprouts (optional)
Sauce:
- 1/4 cup oyster sauce
- 1/3 cup low-sodium soy sauce
- 2 Tablespoons sesame oil
- 1 Tablespoon rice vinegar
- 1 teaspoon cornstarch
- 1 Tablespoon light brown sugar
- 1-2 teaspoons Asian Garlic Chili Sauce , for spice, optional
Instructions
- Chow mein sauce: In a small bowl, whisk the sauce ingredients together and set aside.
- Cook chicken: Heat a large pan or wok on high heat. Add 1 tablespoon oil. Season chicken with salt and pepper and add to hot pan. Sauté until cooked through, then remove to a plate.
- Cook Veggies: Add another tablespoon of oil. Once hot add cabbage, carrots, celery, and the whites of the chopped green onion. Stir fry over high heat for 1-2 minutes. Add the garlic and ginger and cook for 30 seconds, then remove everything to a plate.
- Noodles: Add last tablespoon of oil to the pan and add the noodles. Cook for 1 minute. Add the sauce and cook, tossing to coat. Return veggies and chicken to the pan, along with fresh bean sprouts.
- Serve immediately, garnished with green onion.
Notes
Nutrition
Create a FREE Account to save your favorite recipes and create meal plans
Follow Me
I originally shared this recipe March 2019. Updated July 2022 and January 2024.
This post contains affiliate links.


This is as delicious as it is easy! The fresh Yakisoba noodles can be just thrown right in with the sauce as directed without boiling first, which saves time & cleanup. So good and you can use any veggies you have on hand.
Soft noodles = Lo Mein.
REAL Chow Mein has Hard, Crunchy Noodles.
Too much carrots. Not enough celery.
Where are the: Bok choy, bell peppers, mushrooms, snap peas, broccoli, bamboo shoots, and water chestnuts. Recipe and the result are bland, boring, uninteresting = more ingredients will get the taste buds involved. May as well open up a can of La Choy.
I tend to improvise a little with the ingredients, however as long as I have a base-line to follow, things turn out great! Other recipes you share here have been outstandingly helpful. Many thanks.
This one is a keeper. Fast and easy to put together and really tasty. Bagged coleslaw worked well. The possibilities are endless. Next time will try shrimp, peanuts and other veggies to mix it up. Thx for giving us this recipe.
We used sirloin strips because that’s what we had. I also doubled the recipe making one half in the pan with meat and one pan veggies only. Both super tasty. Only advice is prechop and prep everything before starting to cook. It will simplify cooking it.
So very good. My husband does not like cabbage so I used red bell pepper instead. Added small can of water chest nuts and unfortunately had to use canned bean sprouts due to availability. Still very good.
I didn’t try the full recipe, just the sauce recipe, but I have to say – this is the best chow mein sauce that I’ve ever made!
THIS IS A NEW FAMILY FAVORITE! No left overs here. I will make it again for sure.
Pretty Good! Our first time trying this recipe: we felt the veggies needed much more cooking than 2 minutes, even on high (about 10 minutes to get the celery cooked through before we added the pasta. We used pre-cooked chunks of chicken so we added that when we added the pasta. We used spaghetti noodles, BTW. The sauce was tasty. We didn’t add the oyster sauce to the pan, instead letting family members add oyster sauce to taste. Some love it, others not so much. Will make again!
oh. my. gosh. Is this recipe authentic? Absolutely not. Is this recipe delicious and wonderful and super easy to prep so you can make most of it ahead of time and just assemble in 15-20 minutes? yaaaasssssssss!!!!
I didn’t use udon noodles – I used Pasta Zero (shiratake noodles) and added them right at the end and it was wonderful.
In the future I will pre-chop eeeeverything so all I have to do is saute everything together and add the sauce and BAM, dinner is done. <3