What is German Chocolate Cake?
How to Make German Chocolate Cake:
1. Make the chocolate cake: Combine dry ingredients (sugar, flour, cocoa, baking powder, baking soda and salt). Combine wet ingredients (eggs, buttermilk, oil and vanilla). Mix together and stir in boiling water.
2. Bake at 375°F: Pour batter into prepared 8 or 9-inch round baking pans. I like to cut a round piece of wax or parchment paper for the bottom of the pan also, to make sure the cake comes out easily.
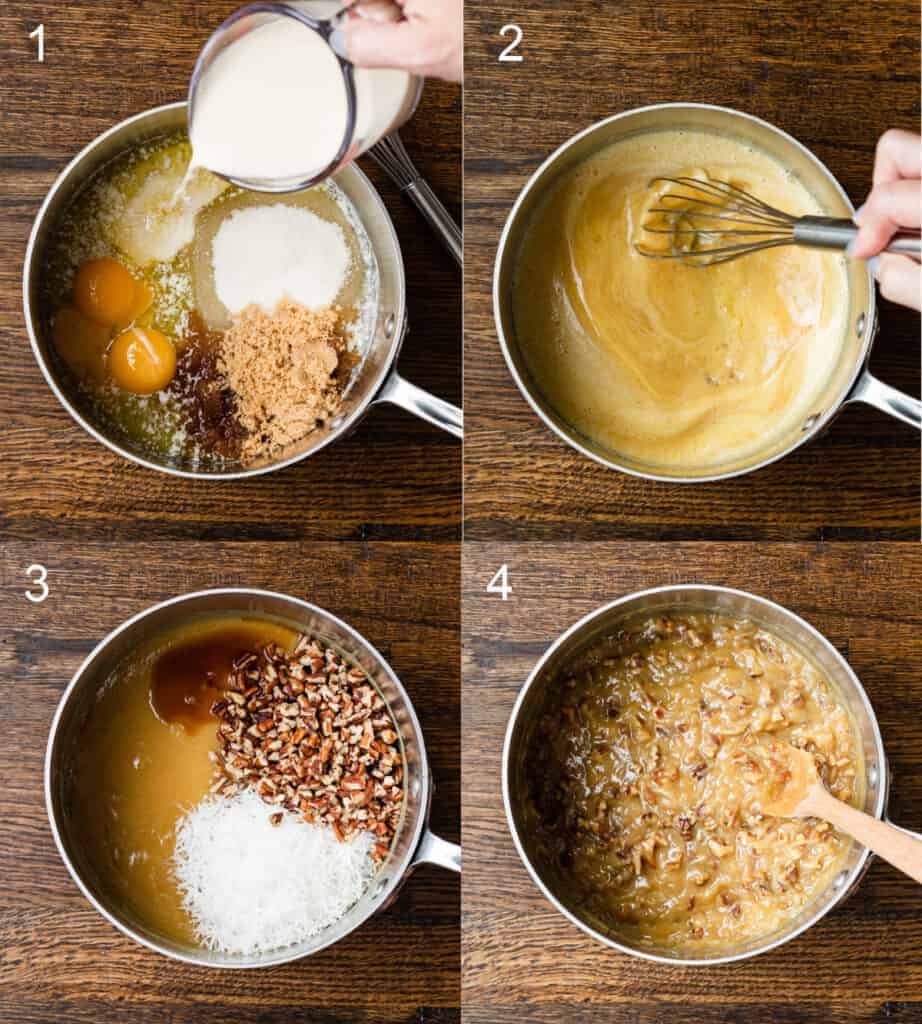
3. Make the German Chocolate Frosting: Combine brown sugar, granulated sugar, butter, egg yolks, and evaporated milk in a saucepan and bring the mixture to a low boil over medium heat. Stir constantly until the mixture thickens. Remove from heat and stir in vanilla, nuts and coconut. Allow to cool completely before layering it on the cake.
4. Make chocolate frosting: Melt butter, stir in cocoa powder, slowly add powdered sugar and milk, beating to spreading consistency. Add small amount additional milk, if needed to thin the frosting, or a little extra powder, until you reach your desired consistency. Stir in vanilla.
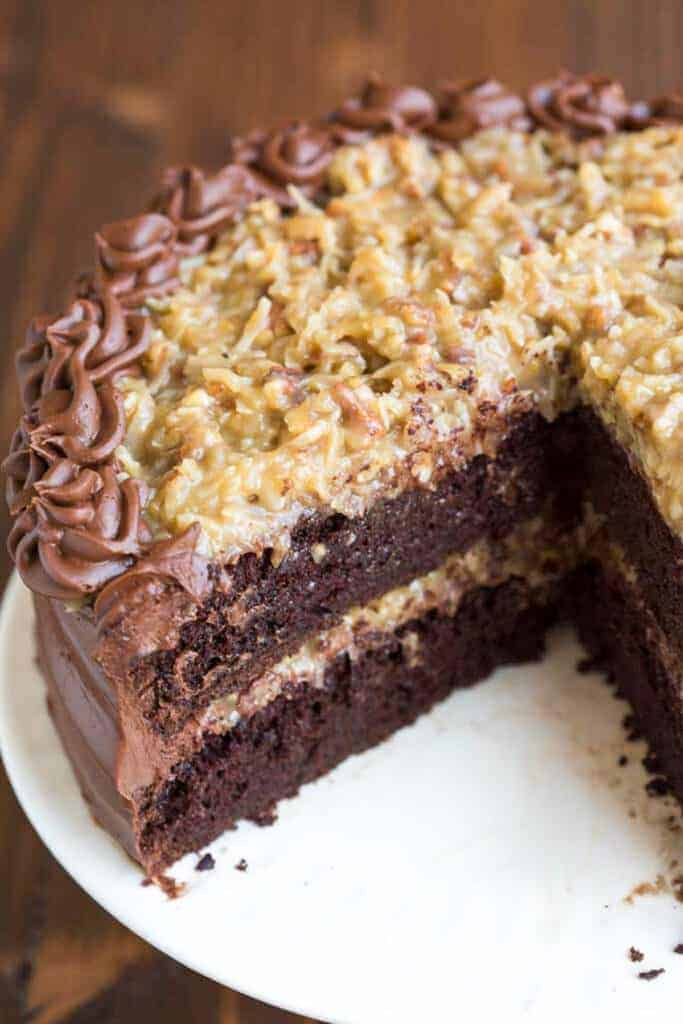
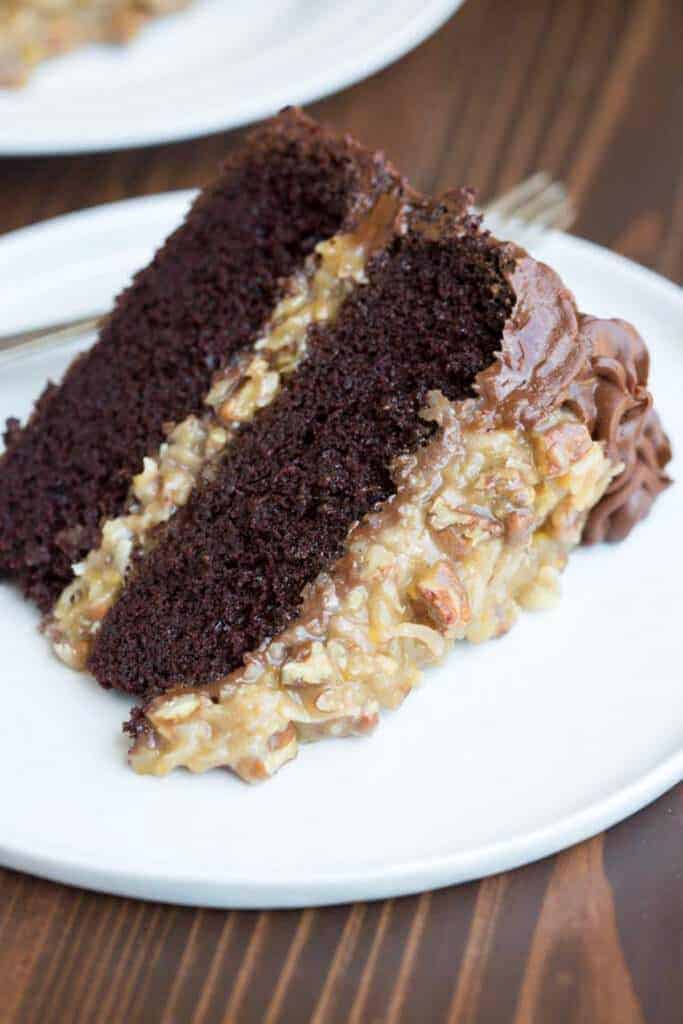
5. Assemble: Place one of the cake rounds on your serving stand or plate. Smooth a thin layer of chocolate frosting over the cake layer, and then spoon half of the coconut frosting on top, spreading it into a smooth layer. Leave about ½ inch between the filling and edge of cake. Stack the second cake round on top. Smooth chocolate frosting over the entire cake. Spoon remaining coconut frosting on top of the cake.

Pro Tips:
Use room temperature ingredients. Run hot water over the eggs to bring them to room temperature. Stick the buttermilk in the microwave for just a few seconds. It really makes a difference!
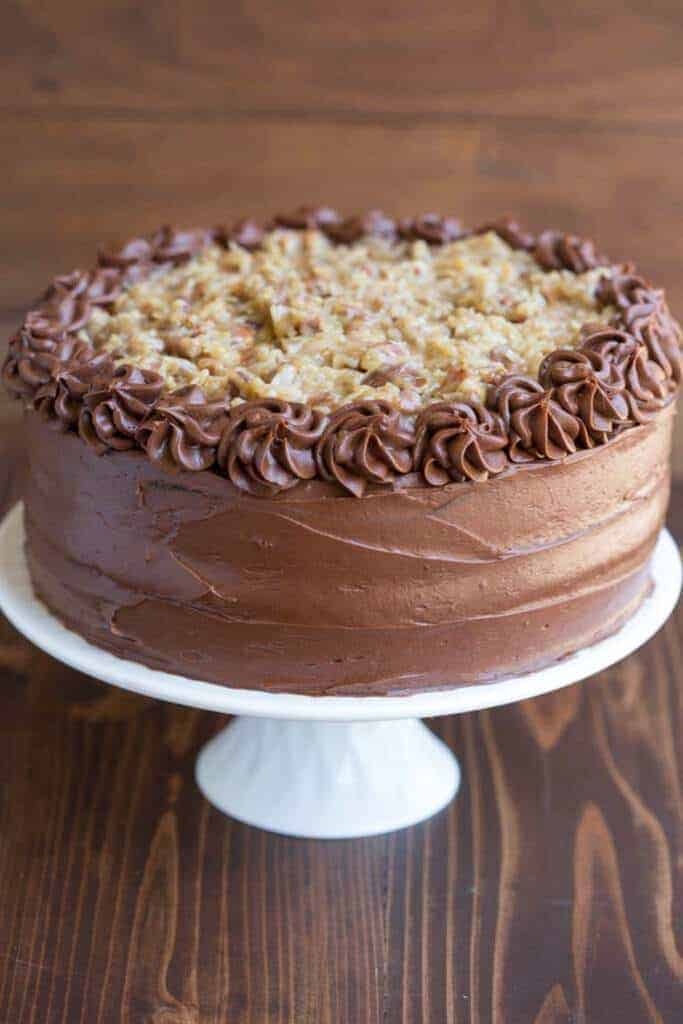
Decorating cake is easy! I used a wilton 2D tip for the swirls on top of this cake, but I also love the Wilton 1M tip. I use both tips with an Ateco flex 14” reusable piping bag. Those three items right there are my favorites for cake and cupcake decorating.
Make Ahead and Freezing Instructions:
To Make Ahead: Both frostings (coconut and chocolate) can be made ahead and placed in a covered container in the fridge. The coconut frosting will keep for 1-2 weeks, depending on the freshness of the ingredients used. The chocolate frosting will keep for 2-3 weeks. Remove frostings from the fridge an hour before you’re ready to frost the cake, to give them time to come to room temperature.
To Freeze: After baking the cake layers, allow them to cool completely, then wrap them well in plastic wrap and stick each layer in a ziplock freezer bag. Freeze for up to three months. Frost the cakes when they are frozen–they are much easier to frost this way! The assembled German Chocolate Cake can also be frozen, covered well, for 2-3 months (I recommend slicing the cake and wrapping each slice really well in plastic wrap, then placing in a freezer-safe container, for best results). Allow to come to room temperature before serving.
Consider trying these popular Dessert Recipes:
- Better Than Anything Cake
- Mississippi Mud Brownies
- Snickerdoodles Bars
- Perfect Chocolate Chip Cookies
- Tres Leches Cake
FOLLOW ME on FACEBOOK, TWITTER, INSTAGRAM and PINTEREST for more great recipes!
Recipe

German Chocolate Cake
Equipment
Ingredients
For the Chocolate Cake:
- 2 cups granulated sugar
- 1 3/4 cups all-purpose flour
- 3/4 cup unsweetened cocoa powder
- 1 1/2 teaspoons baking powder
- 1 1/2 teaspoons baking soda
- 1 teaspoon salt
- 2 large eggs
- 1 cup buttermilk
- 1/2 cup oil (vegetable or canola oil)
- 2 teaspoons vanilla extract
- 1 cup boiling water
For the Coconut Frosting:
- 1/2 cup light brown sugar
- 1/2 cup granulated sugar
- 1/2 cup butter
- 3 large egg yolks
- 3/4 cup evaporated milk
- 1 Tablespoon vanilla extract
- 1 cup chopped pecans
- 1 cup shredded sweetened coconut
For the Chocolate Frosting:
- 1/2 cup butter
- 2/3 cup unsweetened cocoa powder
- 3 cups powdered sugar
- 1/3 cup evaporated milk
- 1 teaspoon vanilla extract
Instructions
- Heat oven to 375°F. Grease two 8 or 9-inch round baking pans. I like to cut a round piece of wax or parchment paper for the bottom of the pan also, to make sure the cake comes out easily.
For the Cake:
- Stir together sugar, flour, cocoa, baking powder, baking soda and salt in large bowl. In a separate bowl combine the eggs, buttermilk, oil and vanilla and mix well. Add the wet ingredients to the dry ingredients and mix to combine. Stir in boiling water (batter will be very thin). Pour batter into prepared pans.
- Bake for 25 - 35 minutes (depending on your cake pan size. The 9'' pan takes less time to bake) or until a toothpick inserted in center comes out clean or with few crumbs. Cool 5 minutes in the pan and then invert onto wire racks to cool completely.
For the German Chocolate Frosting:
- In a medium saucepan add brown sugar, granulated sugar, butter, egg yolks, and evaporated milk. Stir to combine and bring the mixture to a low boil over medium heat. Stir constantly for several minutes until the mixture begins to thicken.
- Remove from heat and stir in vanilla, nuts and coconut. Allow to cool completely before layering it on the cake.
For the Chocolate Buttercream Frosting:
- Melt butter. Stir in cocoa powder. Alternately add powdered sugar and milk, beating to spreading consistency. Add small amount additional milk, if needed to thin the frosting, or a little extra powder, until you reach your desired consistency. Stir in vanilla.
Cake Assembly:
- Place one of the cake rounds on your serving stand or plate.
- Smooth a thin layer of chocolate frosting over the cake layer, and then spoon half of the coconut frosting on top, spreading it into a smooth layer. Leave about ½ inch between the filling and edge of cake.
- Stack the second cake round on top. Smooth chocolate frosting over the entire cake.
- Spoon remaining coconut frosting on top of the cake.
Notes
Nutrition
Create a FREE Account to save your favorite recipes and create meal plans
I originally shared this recipe May 2017. Updated February 2021.
Chocolate cake recipe adapted from Hersheys. Coconut Frosting is from my Mom!
This post contains affiliate links.


This was an excellent cake. I made it for my husband for his 50th birthday party and everyone loved it and said it was the best German chocolate cake they’ve ever had. I’m gonna make this over and over again. It was absolutely fabulous.
I have made this cake several times, and it is delicious! Even my friends who think they don’t like German chocolate cake love it. I get requests for it!
I made the frosting from this recipe, and it was excellent. Easy to follow instructions and tasted exactly right. The only difference I made was to toast the pecans lightly. Thank you!