These crispy Bean and Cheese Burritos are filled with refried beans and cheese and pan fried until the tortilla is crispy. Serve with salsa and guacamole and you’ve got one of our favorite easy weeknight meals!
Looking for more quick meal ideas? Try Taco Salad, Sheet Pan Chicken Fajitas, or Cheese Enchiladas!
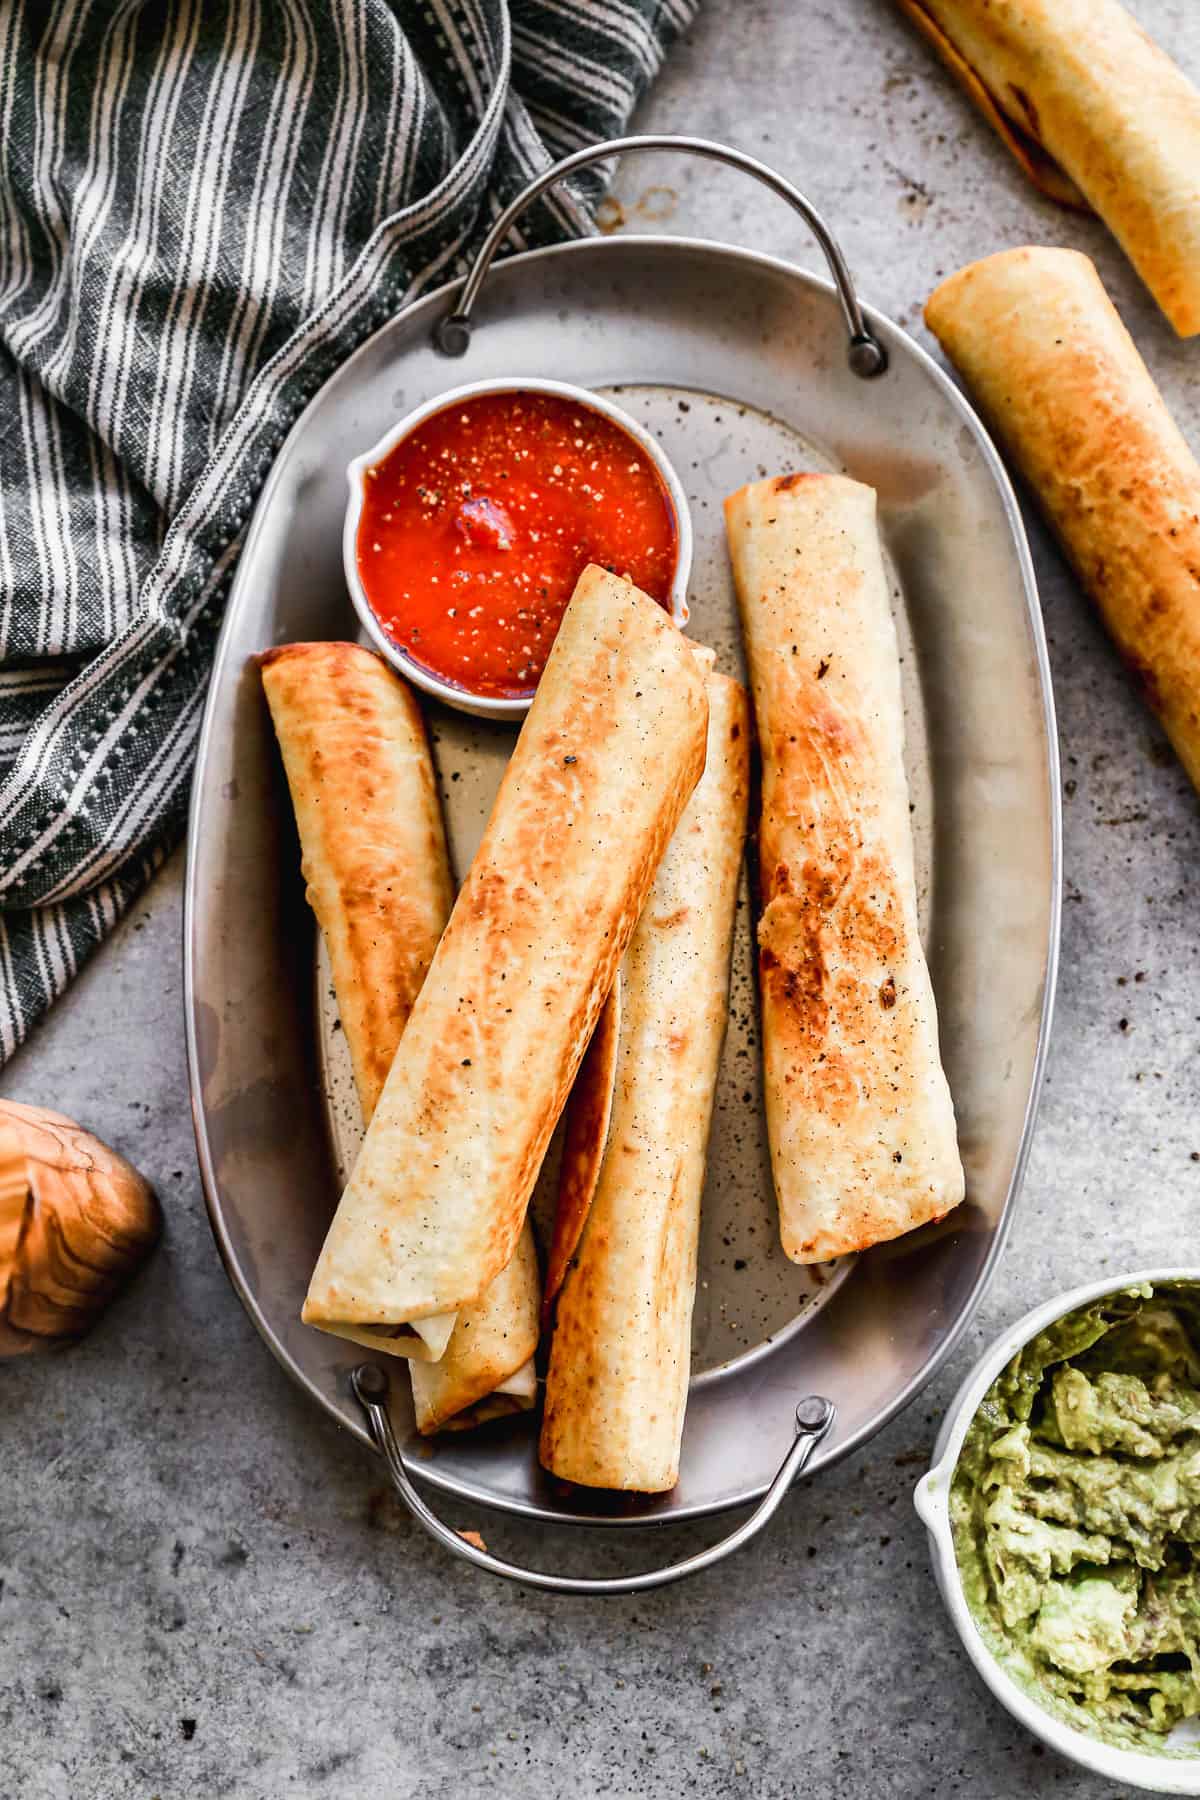
Why I love this recipe:
- FAST! I can whip these up in less than 20 minutes. Here’s a list of my other favorite meals you can make in under 30-Minutes.
- Few Ingredients: I always have these basic pantry ingredients on hand! If you want to go the extra mile use these Homemade Refried Beans!
- Picky-Eater Approved: Crispy and full of flavor, this is a meal that every member of my family is excited about. We love serving them with salsa, guacamole and sour cream.
Ingredients Needed:
- Tortillas
- Refried Beans
- Salsa
- Cheese
- Chili Powder, Garlic Powder, Cumin
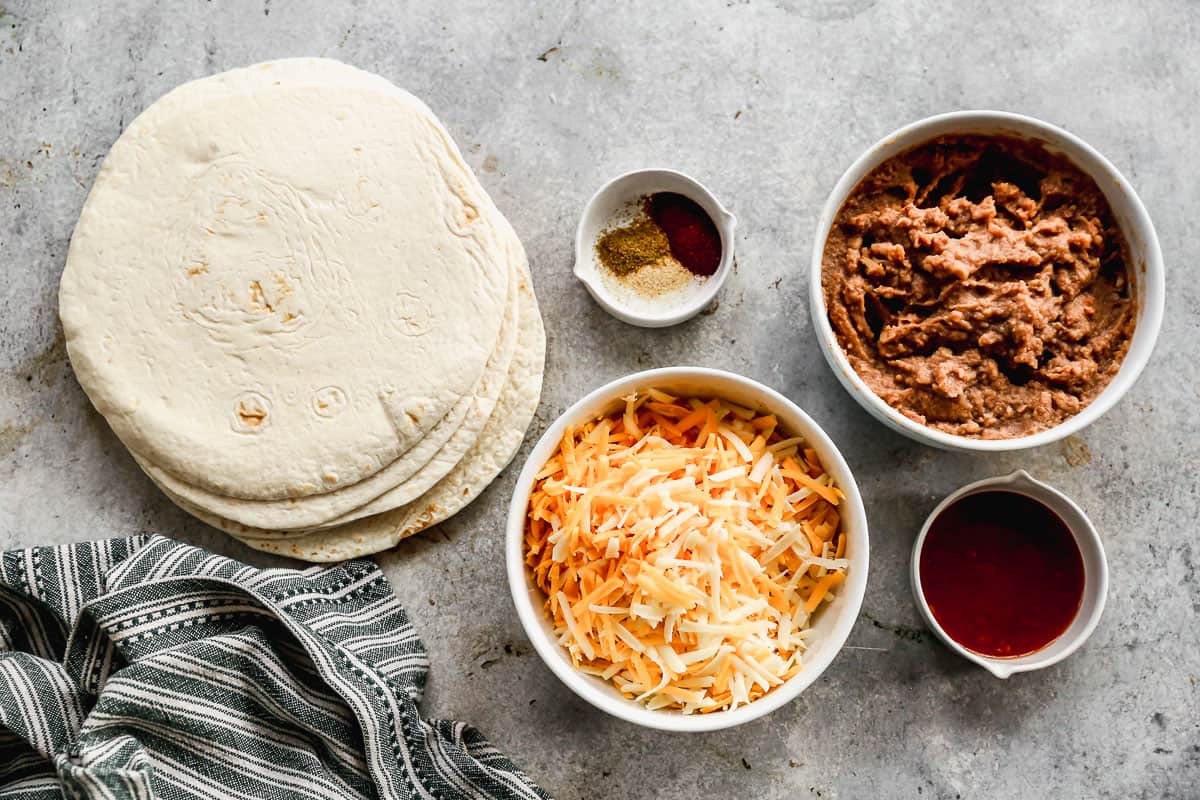
How to make Crispy Bean and Cheese Burritos:
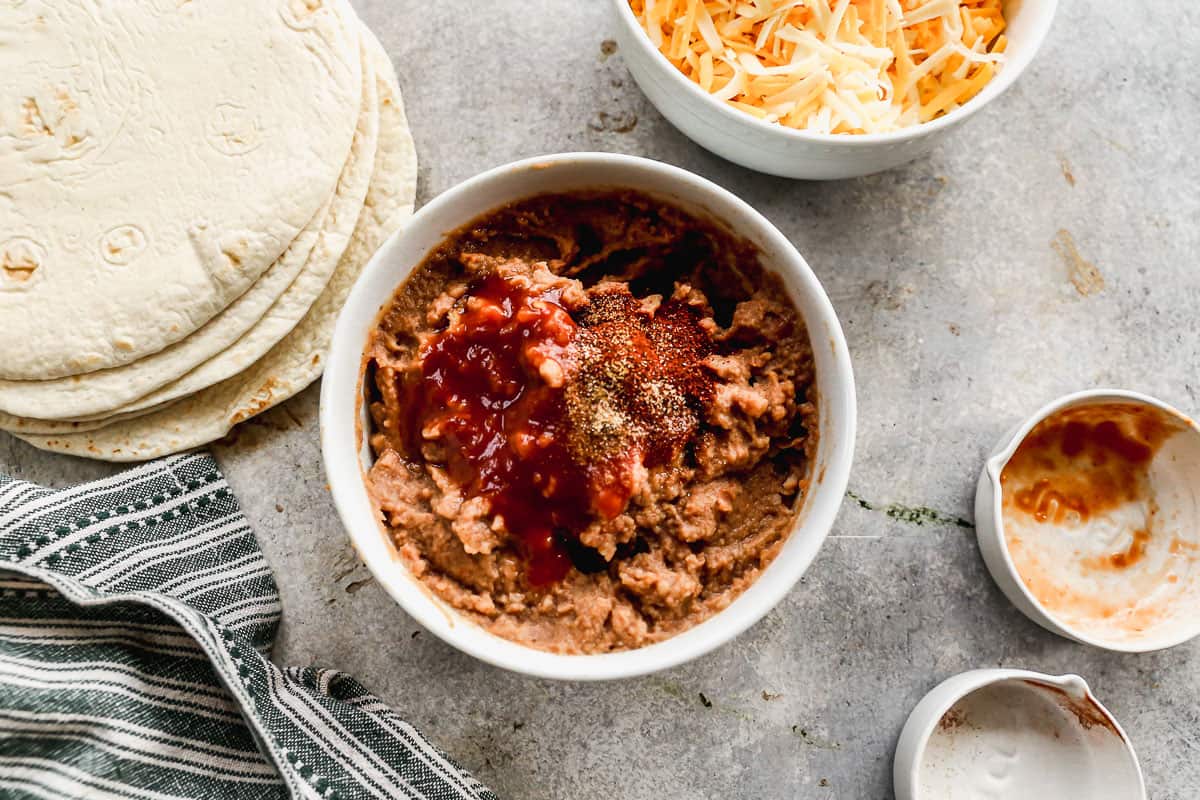
Season Beans: Add refried beans, salsa, chili powder, garlic powder, and cumin to a mixing bowl and stir until smooth.
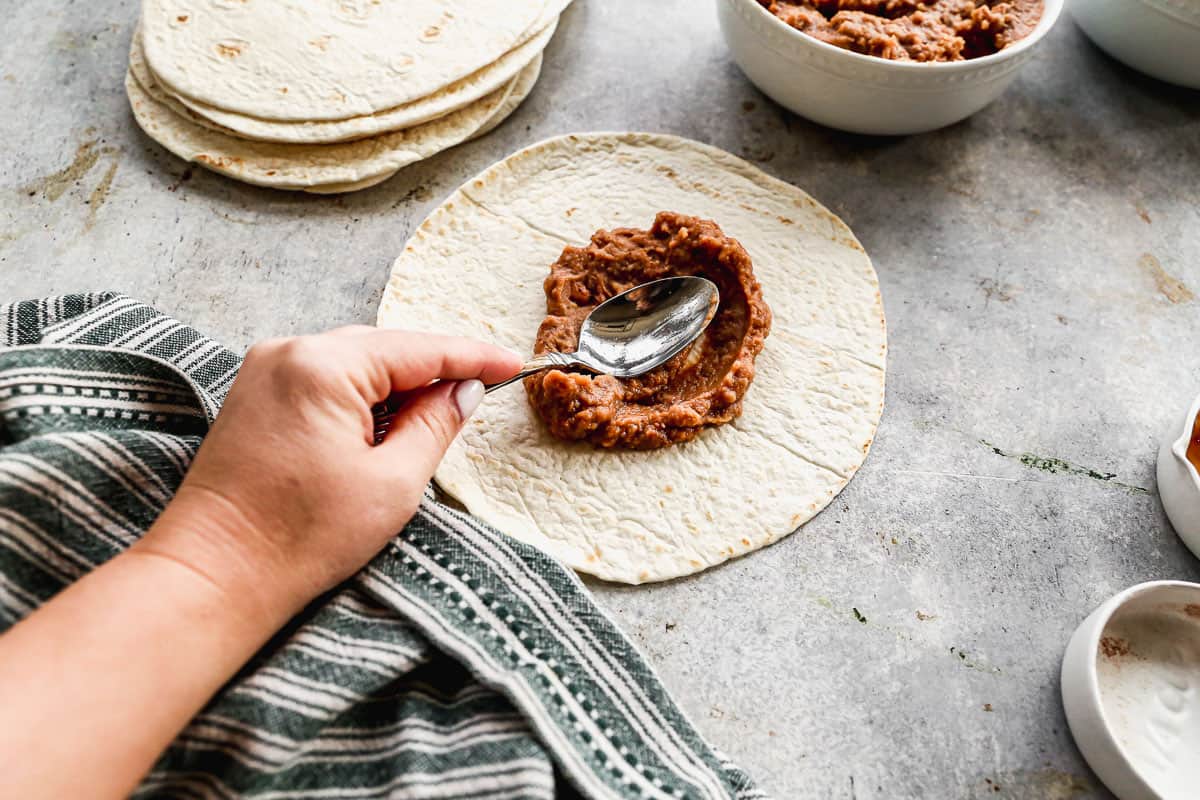
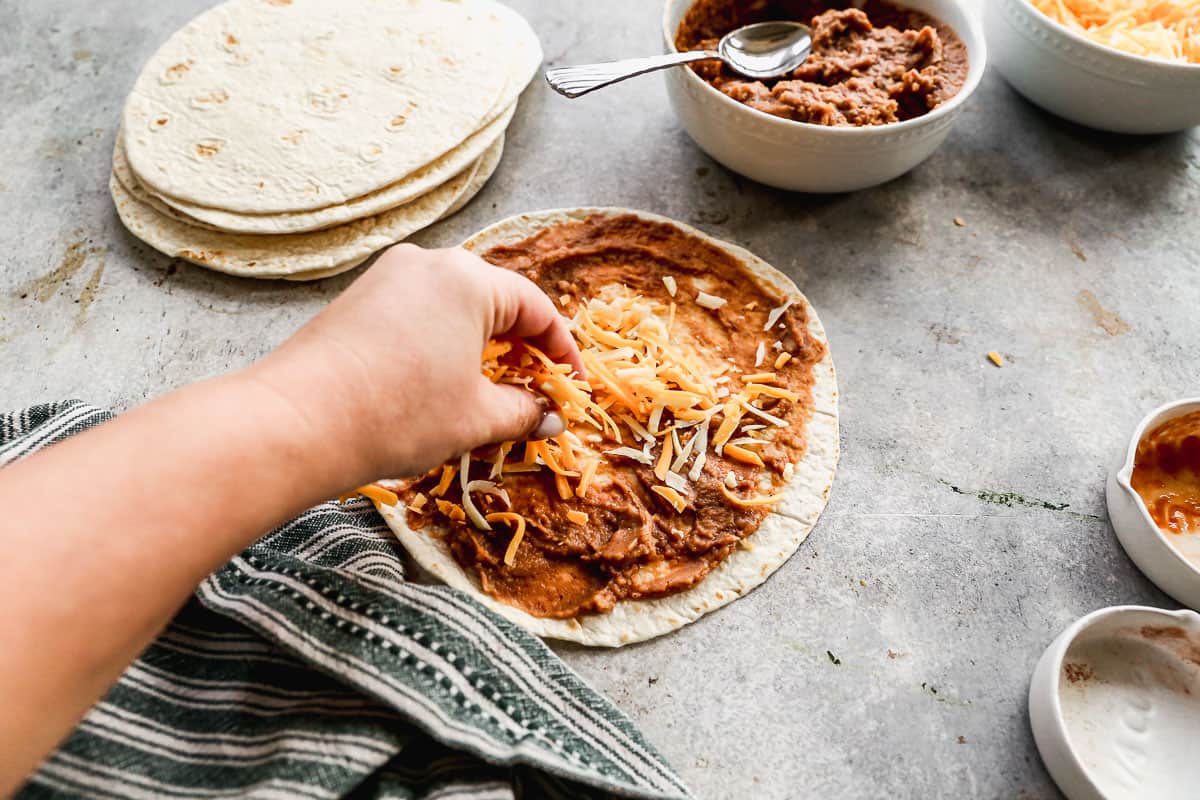
Spread Beans: Spoon about three tablespoons of the bean mixture onto the center of a flour tortilla and smooth into a thin layer.
Add Cheese and Roll: Sprinkle with a large pinch of shredded cheese. Roll tightly. Repeat with remaining tortillas.
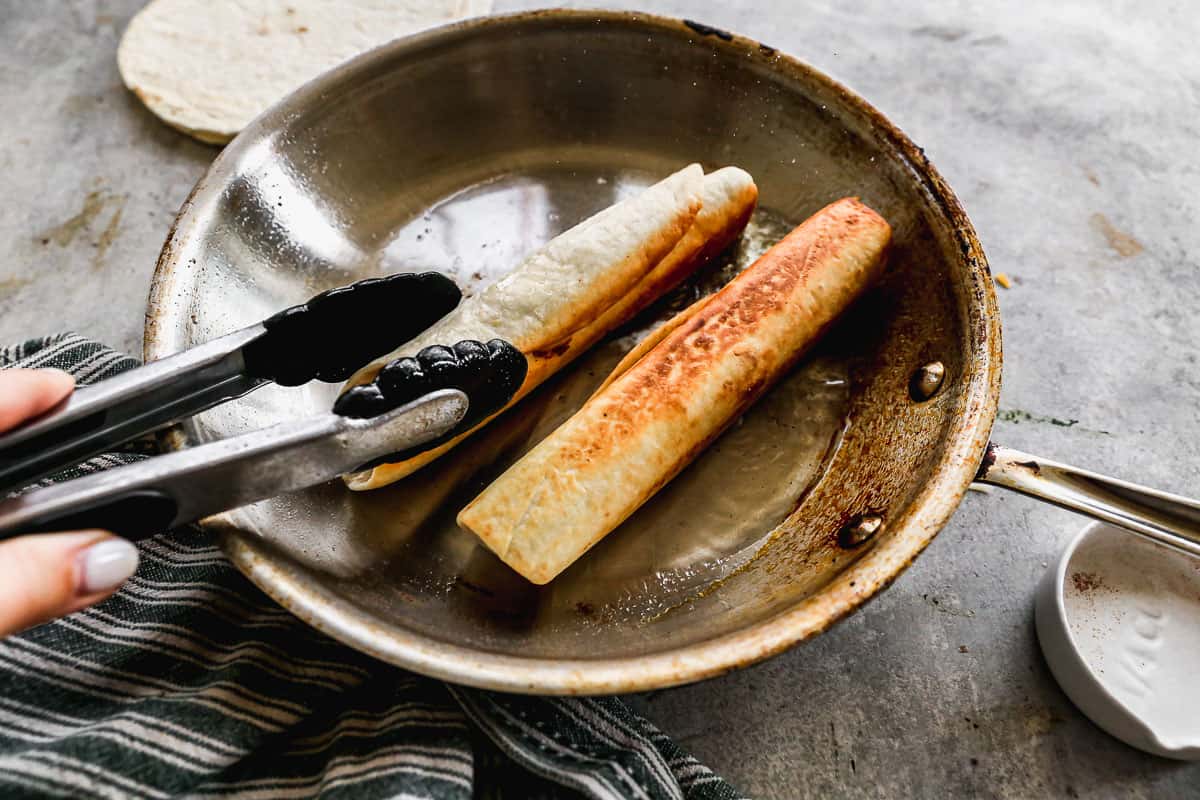
Fry Burritos: Heat 1-2 tablespoons of oil in a large saucepan over medium-high heat. Place a few burritos, seam side down, into the pan. Turn them every 30 seconds or so as they cook until they are golden and crispy on all sides.
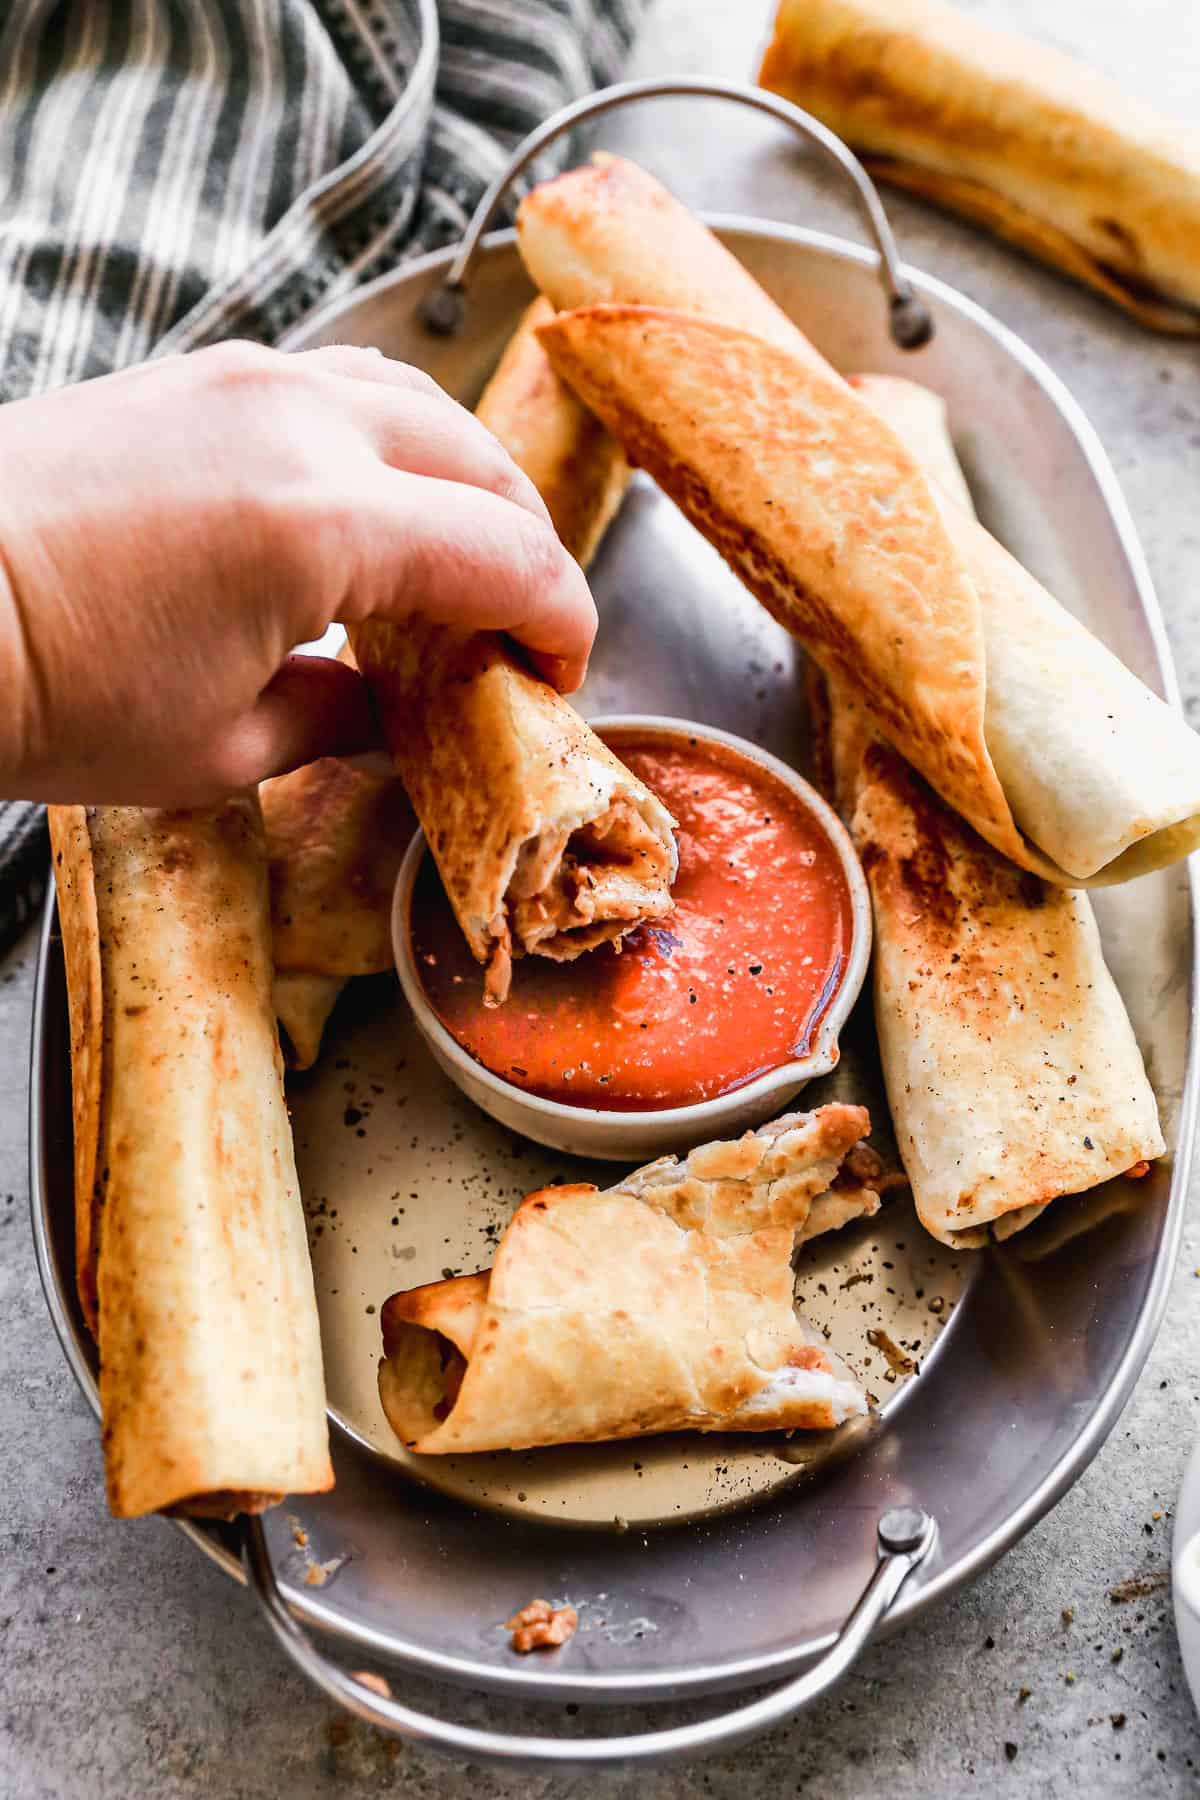
Serve warm with homemade Easy Homemade Salsa and guacamole, for dipping.
Air Fryer Instructions:
Preheat air fryer to 370 degrees. Spray the burritos with oil and add a few at a time to the air fryer. Cook for 6 minutes, rotate and cook for a few more minutes until crispy on all sides.
Make Ahead and Freezing Instructions:
To Make Ahead: The refried bean mixture can be made beforehand and kept in an airtight container in the refrigerator. You could also assemble and roll the burritos and store them in the fridge until dinner, when you’re ready to fry them. Leftovers also reheat wonderfully, reheated in a hot pan until the tortilla gets crispy again.
To Freeze: Make the burritos through step 3 (stop before pan frying them). Keep them wrapped in plastic in the fridge for up to 2 days or freeze them in a zip lock bag. When ready to cook, let them thaw completely before pan frying.
Serve With:
Follow me for more great recipes
Recipe
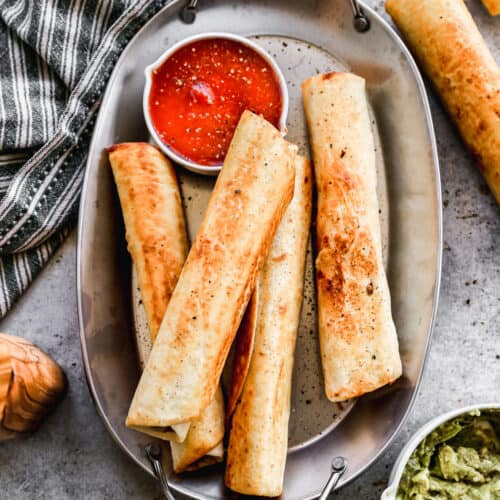
Crispy Bean and Cheese Burritos
Ingredients
- 16 ounce can refried beans , pinto or black
- 1 Tablespoon salsa
- 1/2 teaspoon chili powder
- 1/4 teaspoon garlic powder
- 1/4 teaspoon ground cumin
- 1/2 cup shredded Mexican blend cheese , or cheddar cheese
- 6 medium flour tortillas
- salsa , for dipping
Instructions
- Add the refried beans, salsa, chili powder, garlic powder and cumin to a mixing bowl and stir until smooth.
- Spoon about three tablespoons of the bean mixture onto the center of a flour tortilla and smooth into a thin layer.
- Sprinkle with a small handful of shredded cheese. Roll tightly. Repeat with remaining tortillas.
- Heat 1-2 tablespoons of oil in a large saucepan over medium-high heat. Place a few burritos, seam side down, into the pan.
- Turn them every 30 seconds or so as they cook until they are golden and crispy on all sides.
- Serve warm, with homemade five-minute salsa and guacamole, for dipping.
Notes
Nutrition
Create a FREE Account to save your favorite recipes and create meal plans
Follow Me
I originally shared this recipe March 2018. Updated March 2023.
This post contains affiliate links.


More like bean and cheese taquitos, not burritoa.
These are amazing!! So simple and soooo tasty!
These were fantastic! All 7 of us loved these burritos. We dipped them in sour cream and/or salsa. They were a tad bit spicy for us. But when it comes to spicy levels, we’re babies. For the average person I am sure they are just fine. We will definitely be adding this recipe to our usuals.
Made these added onion fine chop than om my husband’s I added a some leftover taco meat about 1 table spoon, other than that followed rest awsome
Thank you for this great recipe! My family and I really enjoyed this meal. I made it just as the recipe is written. Quick, inexpensive, and easy to prepare with common pantry items…what more could a family “chef” ask for in a recipe?!? Thanks, again!